

It's something about Christmas that I truly love. One of those things is trimming the Christmas tree! I mean – what's Christmas without a Christmas tree?!
I remember growing up, my great-grandmother made sure she put up our tree the day after Thanksgiving. She had a small tree but propped it on a wooden table, so from the window outside looking in, it literally looked about 6 ft tall (haha). The tree had colorful lights that blinked on and off to the sound of Christmas tunes, colorful ornaments that would break –if you held it to tight, and mad silver tinsel EVERYWHERE! On the wooden table around the tree, there would be more tinsel garland, baby Jesus in the manger, and other biblical figurines that she proudly displayed. Spray snow was placed around the window seals for a frosty look (that wouldn't later come off for nothing), more colorful lights, and electric candlesticks in just about every window in the front of the house. Not many gifts under the tree, but the VIBE of love and the season of giving was PRICELESS. Man, those were the good ol' days! But I digress.
I feel like the Christmas tree is the foundation of Christmas. Once it's up, and decorated beautifully, you get a sense of the MOST WONDERFUL time of the year! I'm not going to be giving out tips on how to achieve my great-grandmother's tree, but I will be dishing out 7 steps on how to decorate/trim your Christmas tree Vogue-style!
Choose A Theme.
To make styling your tree a little easier, I would suggest for you to come up with a theme. Maybe you love black and white and want to create a Chanel inspired Christmas tree. Whatever it is, DO IT! Make sure your theme is cohesive with the colors you choose. My theme for my tree this year is The Vogue Room-inspired. Yes, my actual business and brand! (Is that vain??) I wanted my Christmas tree to exude GLAM! I am loving blush/champagne tones, along with silver and a hint of gold. Therefore, I thought those would be the perfect colors to incorporate on the tree as well.
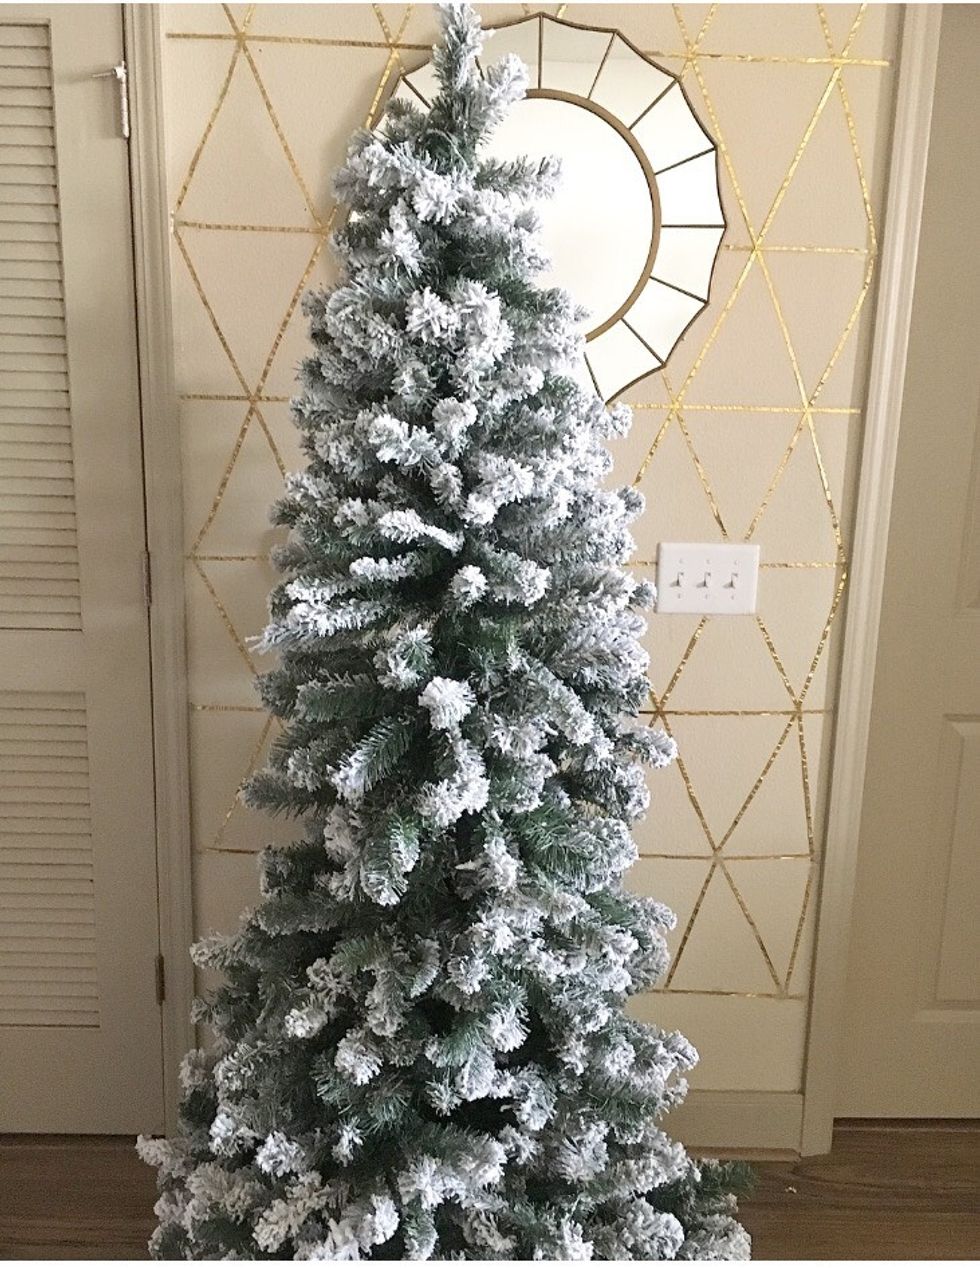
Set Up Your Tree.
I suggest you go with a flocked or colored (maybe white, or even silver) tree to achieve the super glam look. However, if you have a green Christmas tree, that will work too. Moreover, make sure you setup your tree and fluff the branches! I typically start to fluff at the bottom, and work my way up. I suggest you put on a good Christmas music playlist, for entertainment purposes and TAKE YOUR TIME! You should fluff one branch at a time, so your tree will look full!
Step 2a: If you don't have a pre-lit tree, after you fluff your branches out completely, add lights to your tree. I like to wrap the lights around the branches and in between the sprigs.
For Added GLAM: my tree is pre-lit, BUT because I'm extra, I added more lights for MORE TWINKLE and you should too!
Ebony Staten/The Vogue Room
Add Faux Fur Or Ribbon.
When I think of faux fur, immediately my mind says GLAM! Therefore, we are going to add faux fur, ribbon or whatever material you choose to wrap around your tree. You can use a few techniques below:
Faux Fur Method:
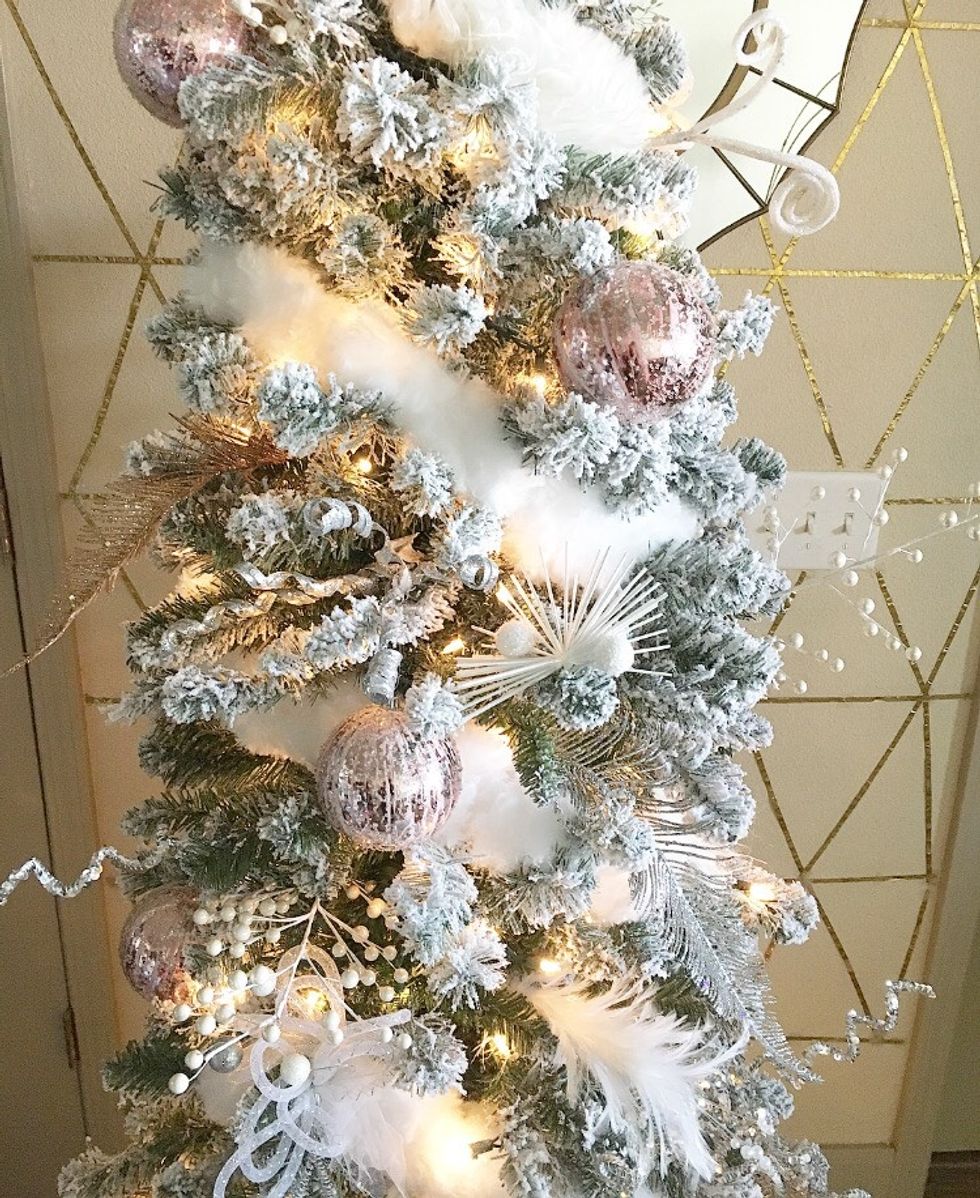
This can be done with faux fur garland, a faux fur rug (you can always cut it into rectangles), or if you want to save a few coins, you can use white dusters! Yes, you read it correctly, DUSTERS! Starting at the top, I placed the fur between the branches and went all the way around the tree. Therefore when I finished, it created a "spiral" look around the tree.
I do understand everyone may not want to use faux fur and if that's the case, you can use some old faithful ribbon. There are at least three ways to wrap ribbon around the tree:
- The Spiral: some people start at the top and wrap it around the tree like a maze or spiral.
- The Waterfall: start at the top on each side of the tree and create a cascading look, which causes a waterfall look.
- Random: I like to go with the "random" approach. I start at the top and simply tuck the ribbon in and out of the tree. Essentially, I do this all throughout the tree in different random sections with different ribbon lengths. Trust me, it's going to look good!
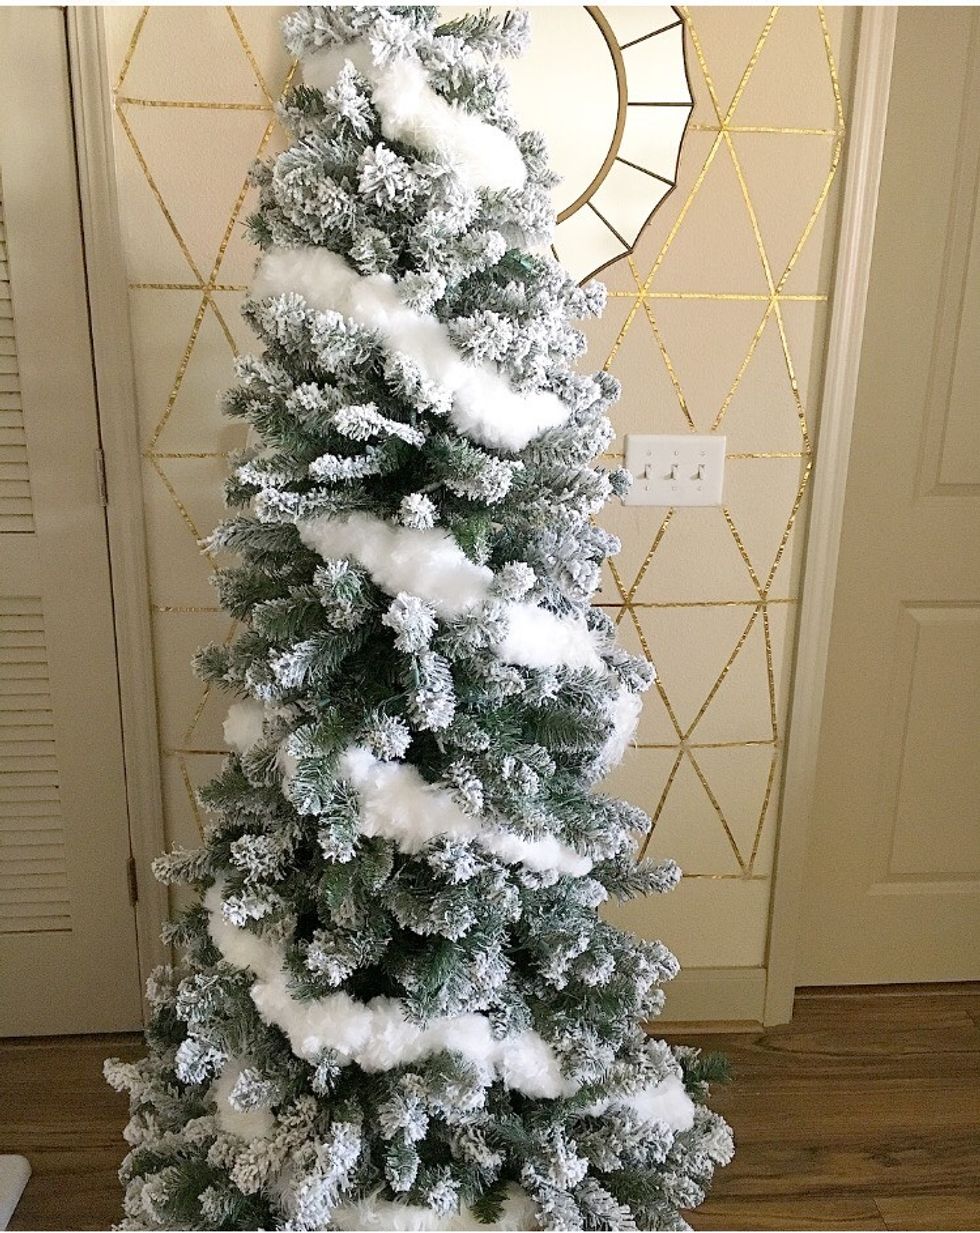
Add dusters as faux fur to complete this spiral look.
Ebony Staten/The Vogue Room
Add "Chic" Large Ornaments.
This step is pretty straightforward. Starting with the largest ornaments, place each ornament on the tree in different spots. I like to start at the top of the tree and work my way down (but whatever works best for you). Remember – try to put a decent amount of space between each ornament.
For Added GLAM: make sure your ornaments are SUPER chic. Hobby Lobby, Big Lots, and At Home stores are my top places to go to for nice glam ornaments. I normally select ornaments of varies sizes, shapes, textures, and of course, BLING!

These ornaments are from Hobby Lobby and if you look closely, they have added bling to them.
Ebony Staten/The Vogue Room
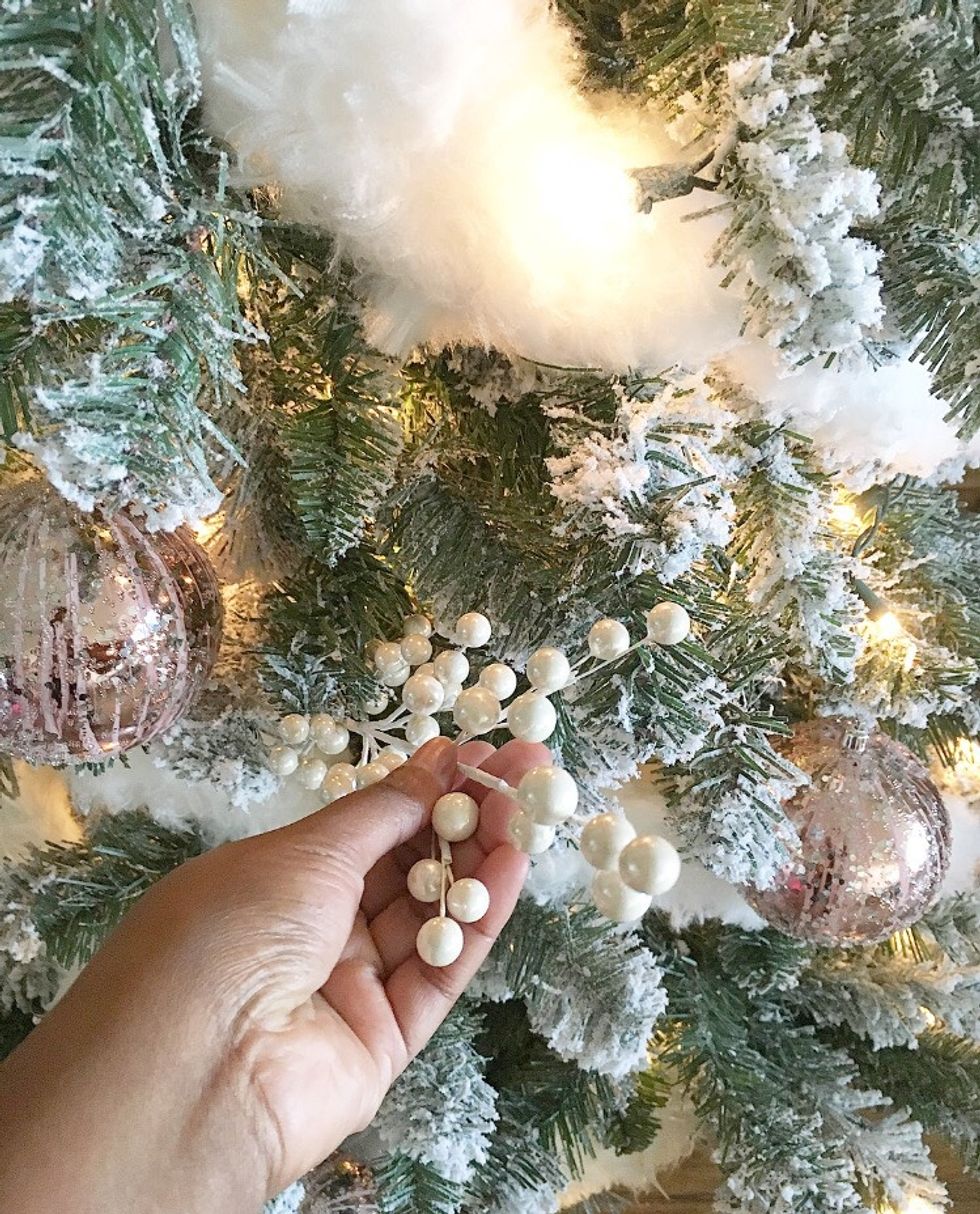
Add Florals & Sprays.
Besides getting very nice ornaments, this step has to be my favorite! Florals and sprays are a good way to add definition and dimension to your tree. These elements are great fillers that takes your tree from average to POPPIN'! There isn't a specific technique I use for this step. Once again, I like to get my sprays and florals from Hobby Lobby and At Home. They come in the form of glittery feathers, fluffy feathers, glittery sticks, antlers, etc. Simply, stick them in the tree and even on the garland. Make sure it's secured, and there you have it! The more sprays and florals, the better!
Ebony Staten/The Vogue Room
Ebony Staten/The Vogue Room
Add More "Blingy" Ornaments.
You thought I forgot about the rest of those cute ornaments – of course not! Evaluate your tree, take a step back, and see where you may have gaps and spaces that need to be filled. We want to add the rest of your medium to smaller size ornaments here. I like to place a variety of ornaments on the tree. For smaller sizes, I like to place them deeper inside the tree and some on the outside branches.
For Added Glam: The "blingy-er" the ornaments, the better! Glitter, disco balls, and sequins are just a few of my favorite types of ornaments to style with.
Top It Off With Something Visually Interesting.
Add something super interesting to the tree for VISUAL interest. Whether, it's between the branches or an over-the-top topper to set off your tree. You need something interesting that will seal the deal to your overall theme. In my case, I added a few Vogue pictures I had in frames on the wall to the tree. Because my tree is The Vogue Room-inspired, I thought these pictures would be visually interesting and would give my tree the right "pop" I was going for! Mission accomplished!
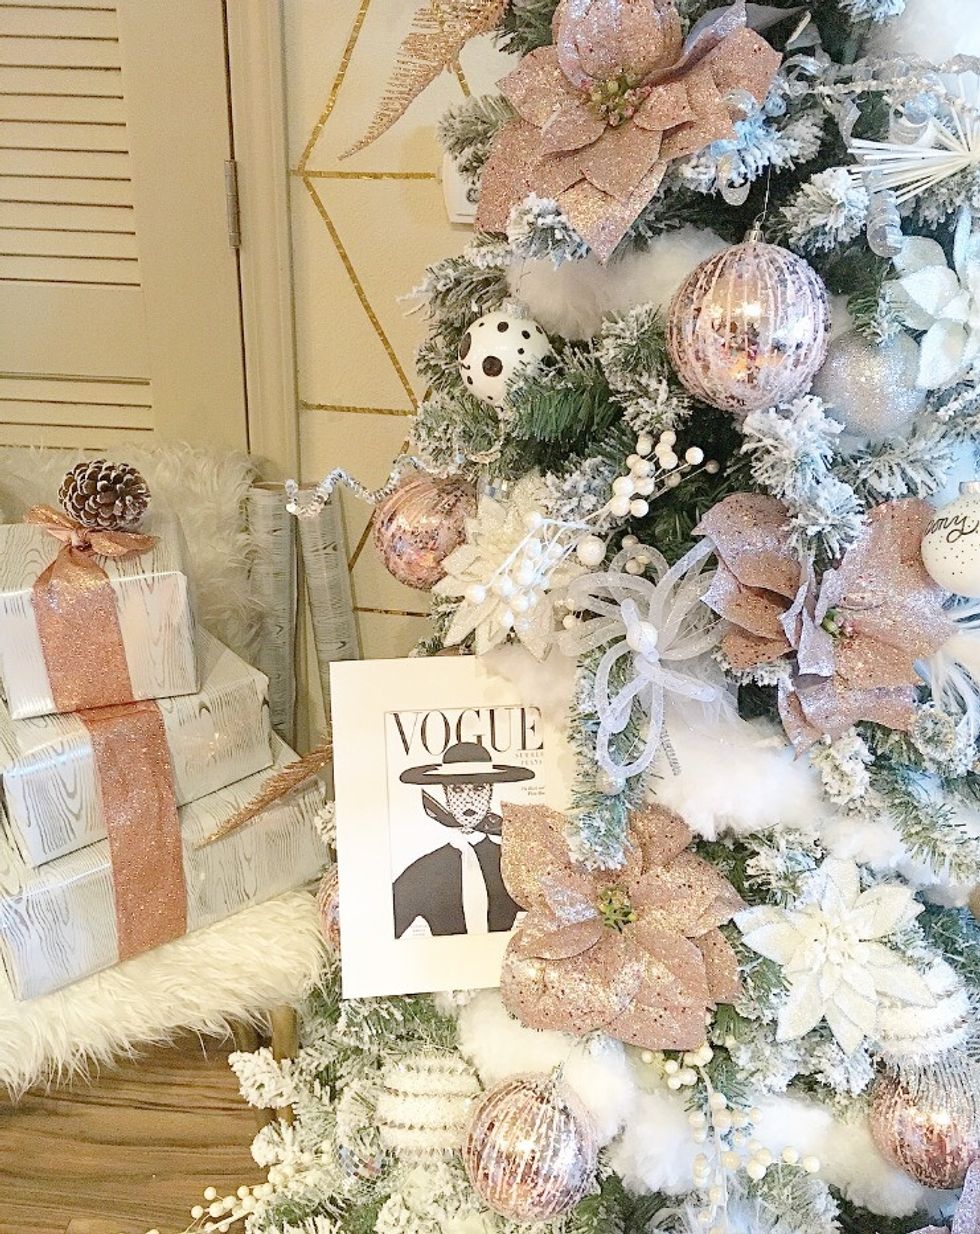
Ebony Staten/The Vogue Room
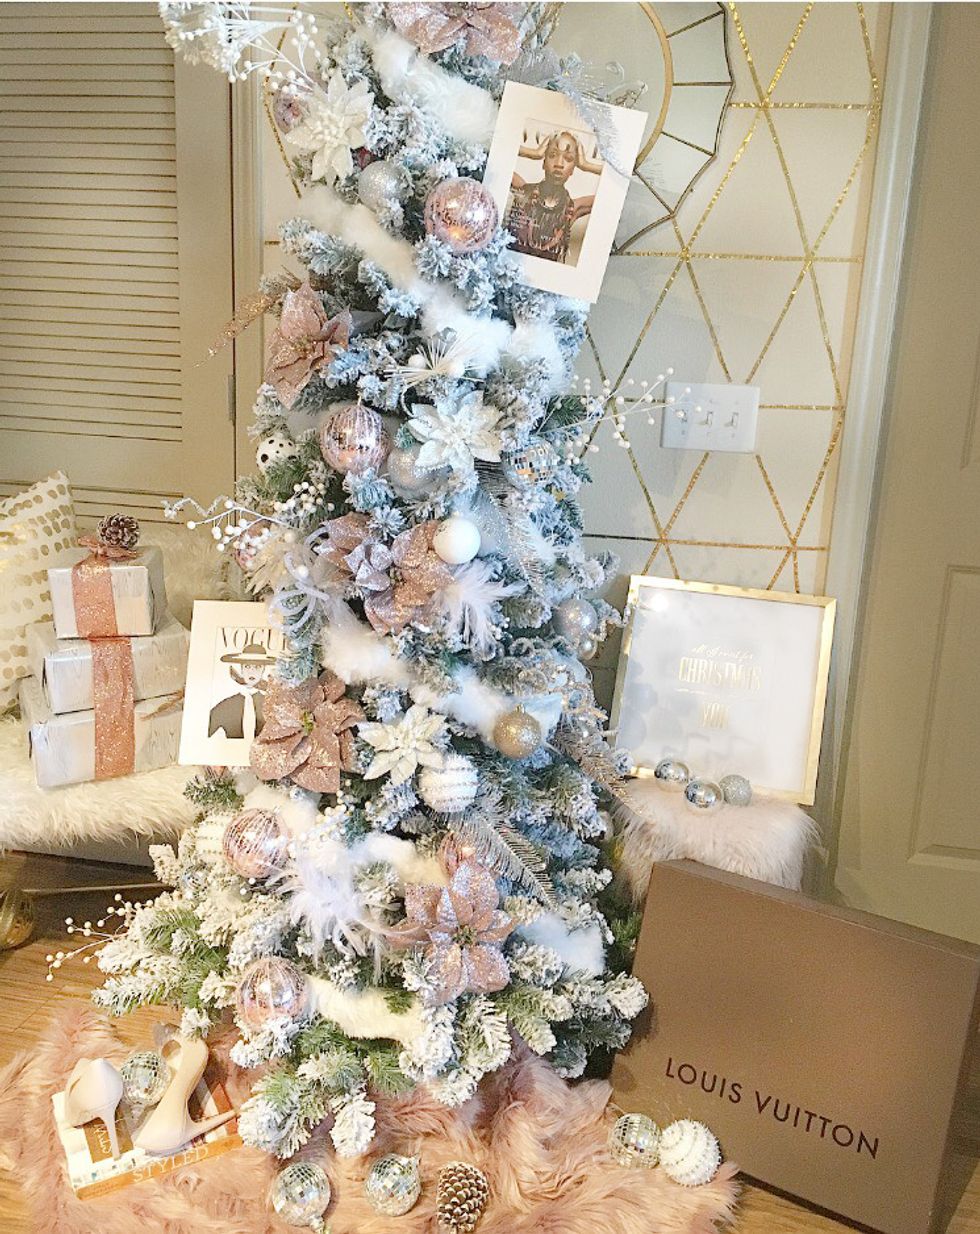
Ebony Staten/The Vogue Room
And there you have it! You have successfully decorated and styled your GLAM Christmas tree, in true VOGUE style! I hope this was helpful and let me know, how your Christmas Tree turn out on Instagram. Happy Holidays!!
Originally published on The Vogue Room.
- 21 in. Celebrate Bronze Tan Glam Christmas Decor Mini Tree Skirt ›
- Rustic Glam Christmas Family Room Decor from Christmas Tree ... ›
- The Royal Family's Christmas Decorations Are the Polar Opposite of ... ›
- 50+ Christmas Tree Decorating Ideas | HGTV ›
- Winter Glam Christmas Decor Ideas ›
- Decorate With Me: Christmas Tree Glam 2017 | Diana Saldana ... ›
- 20 Most Glam Christmas Trees On Pinterest ›
- Decorate With Me: Christmas Tree - How to make it look FULL! (Pale ... ›
- Stunning Christmas Tree Ideas for 2018 - Best Christmas Tree ... ›
- Glam Christmas Decorations You'll Love | Wayfair ›