

One day, while peeking into the social media world to see what was going on, I was tickled when I saw a sistah post a brief exchange between her and her cat.
After I chuckled, it crossed my mind that while a lot of us do indeed rock wigs, we hadn't done an article on how to care for our natural hair while wearing a wig. Whether you wear a wig like an accessory to your outfit, to grow your own hair out, or for any other reason, those fly looks are going to work against you if you're not making sure that your hair and scalp are handled with extreme care while you've got them on.
How to Care for Your Natural Hair Under Wigs
Now let me just give a heads up that, if you are a true wig connoisseur, then you already know that a topic like this really does deserve its own series. So, please just look at this as a CliffsNotes version; something that can, at least make you feel sure that, whenever you put a wig on, you can be confident that your hair is doing just fine until you take it back off again. And with that being said, let's get into the 12 tips that I've got, shall we?
1.Choose a Quality Wig
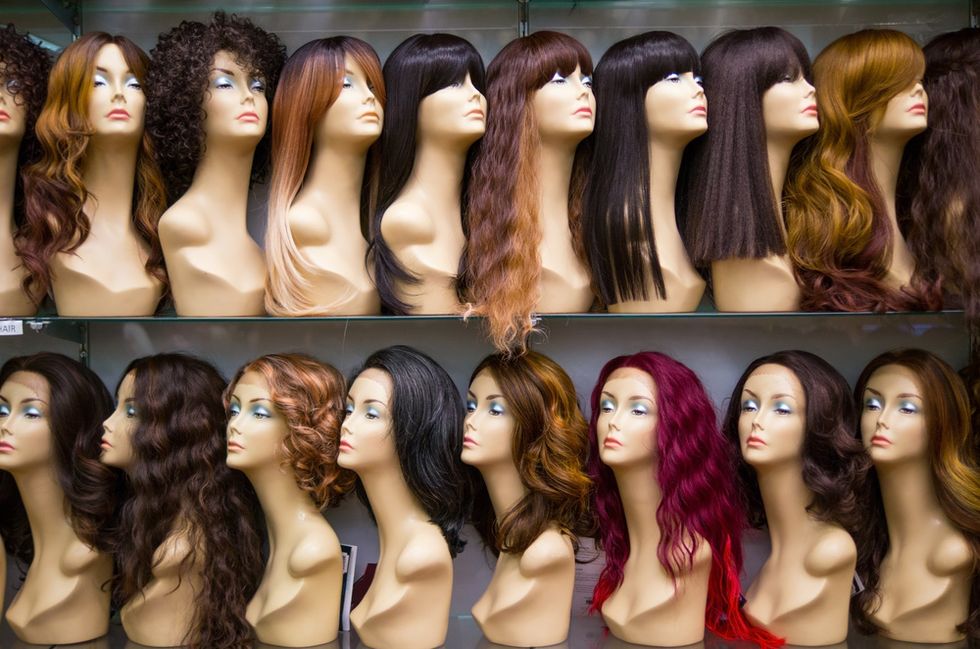
Before even learning how to take care of your natural hair, it's important that you put a quality wig on top of your head to begin with. As far as human hair wigs go, they do tend to look extremely natural however, they can also run you a few hundred dollars (at least). If money is tight, there are some synthetic ones that are much cheaper and are pretty impressive on the appearance tip too.
If you opt for a monofilament wig, they really do look like the hair from your wig is literally growing from your scalp while a hand-tied one is less dense and also looks more natural than machine-wefted or stitched wigs. Just make sure to keep in mind that the less money you spend on a synthetic wig, the less likely you'll be able to use heat-styling tools (because they will melt the hair). Also, please avoid wigs that have that crescent moon type of hairline; the more natural the hairline the better.
If you opt to go to an actual beauty supply store, the customer service agents there should be able to assist you with finding a wig that best fits your hair and personal style. But if you'd prefer to order a wig online, there are plenty of naturalista pros out in YouTube world who can totally help you out. Some videos worth checking out are located here, here, here, here, and here.
(Oh, and if you're looking for some real-looking affordable wigs, check out these videos here, here and here.)
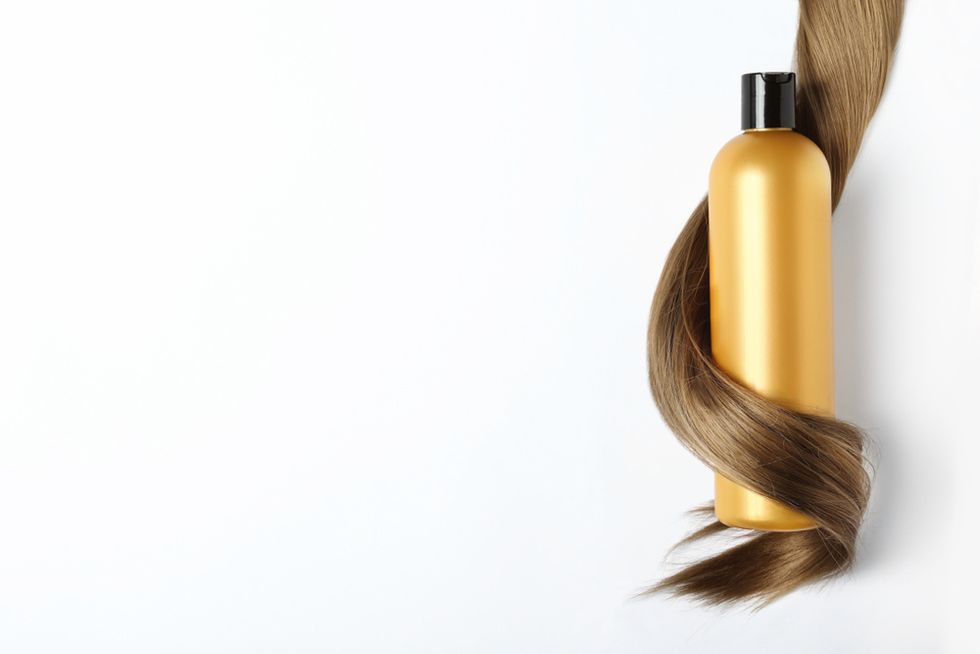
2.Wash Your Hair and Scalp Regularly

What if you had a hat on, all day, every day, for days or weeks on end? Wouldn't that make you want to wash your hair on a consistent basis? This is the mindset you need to have when it comes to how to care for your hair and scalp when you're constantly wearing a wig. Because it's natural for your scalp to sweat when you're wearing a wig, not only can that lead to clogged hair follicles, but the dampness can also lead to your hair and wig not smelling very great. Plus, bacteria can start to form too. This is why, words cannot express enough, that it's super important to shampoo your hair and scalp, no less than every 10-14 days.
Also, while we're here, what's the point in keeping your hair and scalp clean if your wig is gonna be nasty? Isn't that a lot like putting dirty underwear on a clean body? Exactly. So, when it comes to how often your wig needs to be washed, every 30 wears or 4-6 weeks is a pretty steadfast rule.
You can wash a human hair wig with regular shampoo but a synthetic one? Eh. Either go with a synthetic shampoo or even a fabric softener like Downy. For tips on how to properly wash your wig, check out this video here.
3.Super Deep Condition Your Tresses

When I decided to get serious about length retention, it wasn't until I applied this particular tip that I started to make some real progress. So technically, this is a step that you should apply to your hair, no matter what. But when it comes to wig-wearing, you are going to REGRET IT (and yes, I am yelling that!) if you put yours on without deep conditioning your tresses first. Deep conditioning does everything from moisturizing your hair and adding some much-needed elasticity to it, to smoothing your cuticles and reducing your chances of getting split ends.
So, before you put your wig on, shampoo your hair, apply a deep conditioner, let it sit for no less than 30 minutes (a few hours is even better), and then rinse, dry and braid your hair before putting your wig on. It's a great way to keep extra moisture in your hair until your next wash day (which again, should be no less than 10 days later).
4.Oil Your Cornrows
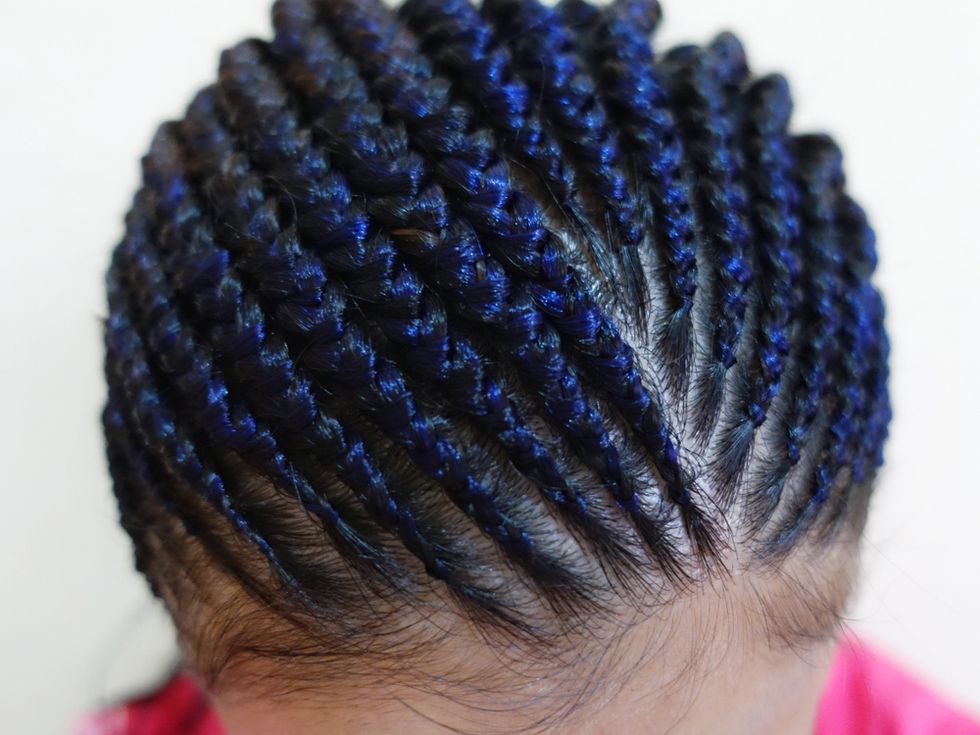
If you want your wig to lay down as flat as possible and your hair is past the TWA (Teeny Weeny Afro) stage, it's best that you put it into cornrows. Not only will that help your wig to fit really closely to your scalp, but it's also a great way to protect your ends too. Just make sure that before you braid your hair you apply a carrier oil like avocado, sweet almond, grapeseed, coconut, or jojoba to your hair to keep your braids extra protected and your scalp well moisturized. Also, you might want to apply a little bit onto your braids, every time you take off your wig as well. In fact, if you want to keep your natural hair and your wig smelling nice, you can even add a few drops of your favorite essential oil to your carrier oil of choice. Lavender, orange, and jasmine oil all smell amazing.
5."Baby" Your Hairline

There are many people who end up with bald edges because they skipped this point. There's no way around the fact that your edges (and nape) are probably the most fragile parts of your hair. And when you've got a wig on, the pressure from the wig can start to weigh down on your edge's follicles, potentially causing irreversible damage. That's why it's best to pull out some of your "baby hairs" before putting your wig on.
Not only that, but make sure to baby your hairline too by gently massaging it with Jamaican black castor oil (which is loaded with nutrients), not using alcohol-based edge control gel (that can dry your edges and nape out), and making sure that your old toothbrush is wet before applying product to it or brushing your edges down; otherwise, the roughness of the brush can wreak havoc on your baby hairs too. By the way, if you're looking for a good edge control, one that I enjoy is by Arcani Coil Care. It's a sistah-owned company and the product is long-lasting.
6.Watch the Straps and the Combs
Two of the most underrated reasons why natural hair ends up being damaged, especially around the nape and edges, once we take our wigs off, is we don't adjust our wig straps or pay attention to how our combs fit on our head. While your wig straps need to be secure, make sure they aren't so tight that they cause friction on the most fragile parts of your hair (your hairline). As far as your wig combs go, make sure they have rounded ends and that you place them into your hair gently.
It's also important to not put them exactly in the same place every time (that can result in breakage and, eventually balding). Oh, and it's a good idea to massage the areas where your straps and combs were when you take your wig off. It will bring blood to your scalp and nourish your hair follicles so that those vulnerable areas won't cause your hair to become extremely vulnerable and damaged.
7.Take Your Wig Cap Off at Night
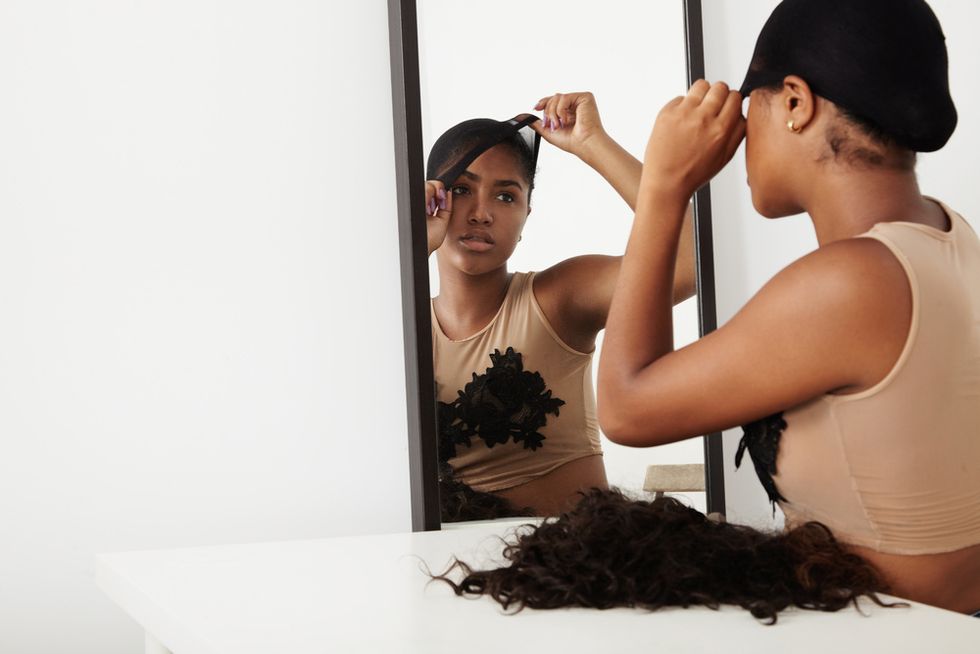
Whether or not you go with a wig cap that you choose yourself, you cut up an old pair of stockings or you opt to use the wig cap that came with your wig installation (because more and more wig companies are including those), it's imperative that you take off your wig cap every night. Remember that the reason why you wear them at all is so 1) your natural hair can get as flat as possible; 2) your natural hair can be protected from the potential snagging that could come from your wig and 3) so your wig looks as natural as it possibly can (which is why it's a good idea to go with a wig cap that is nude rather than black).
Sleeping with a wig cap on keeps your scalp from getting an opportunity to breathe and that is another way for bacteria to form and for our hair follicles to weaken over time.
8.Detox Your Scalp Once a Month

Earlier this year, I wrote an article for the site entitled, "Treat Your Scalp To A Little Bit Of Detoxing This Weekend." The reason why it's so important to detox your scalp is because it removes build-up and it can also rebalance the pH level of your scalp too. Your scalp is really going to need this if you're someone who wears a wig on a consistent basis, so make sure that a thorough scalp detox is a part of your monthly hair care routine.
9.Take Breaks

Too much of a good thing can easily turn into a bad thing when there is no balance and moderation. Wigs aren't exempt from this fact. So, definitely make sure to take a break from your wigs from time to time. If you wear the kind that you can take off every day, consider going a weekend without one. If you opt for the kind that you can keep on for 4-6 weeks easily, give your natural hair at least a couple of weeks before installing a new one. Air, Vitamin D (from the sun) and the lack of stress and pressure that can come from wigs is necessary if you want your hair to be healthy and to thrive.
10.Wash Lace Front Wigs When You Take It Out of the Package
To tell you the truth, this particular tip should apply to any wig that you buy. The reason why you should wash your wig(s) before applying it/them is because you have no idea who handled the wig before you got it. Plus, not all wigs are packaged equally, and it would suck if there was dirt, debris, or…whatever in the wig; especially since you probably plan on wearing your wig for at least a couple of weeks at a time.
As far as how to properly wash a lace front, put a mild shampoo (remember that it needs to be synthetic or some type of fabric softener if it's made out of synthetic hair) into your sink or a basin of water. Put the wig into the water and allow it to soak for about 10 minutes. Use your hands to gently massage the wig (do not use a comb or brush). Then rinse the wig in lukewarm water, lightly dry it with a T-shirt, and then apply a spray that's made of half distilled water and half hair conditioner. Let that sit for about five minutes and thoroughly rinse it again with lukewarm water.
Use a T-shirt to gently wring the excess water from your wig and allow your wig to air dry on a wig stand with the weft of the wig exposed to the air. Once your wig is completely dry, you can then gently comb or use a wig brush.
11.For Lace Front Wigs, Use a Good Adhesive Brand

A bad lace front adhesive can be the absolute devil when it comes to damaging your natural hair. It's kind of a science class, trying to figure out which brand is best (especially if you're looking for a brand that is gentle on your hair but is also super long-lasting at the same time), but Oprah's site did an article on the best wig glues for lace fronts (you can check it out here) and this is another topic where the YouTube queens can definitely hold you do. Check out this video, this video and this video from some cool recommendations.
12.Wear Lace Fronts For No Longer Than 5-6 Weeks

I'll be the first one to say that some of these lace front wigs out here are absolutely mind-blowing when it comes to how real they look! But no matter how close to the real thing they might appear to be or how securely you're able to install yours, even the best of the best have an expiration date in the sense of how long you should wear them before it's time to take them off and take a break.
The standard? Somewhere around 5-6 weeks is when you need to remove it so that you can do all of the things that I just shared to your own hair and so that you can properly clean and condition your lace front too.
Again, while there is a lot more info that can be shared on wigs and wig maintenance, if you apply these suggestions, you can feel pretty confident that your own hair will thrive while you're out here being a baddie in your wig. And that truly is the best of both worlds when it comes to hairstyles—ain't it?
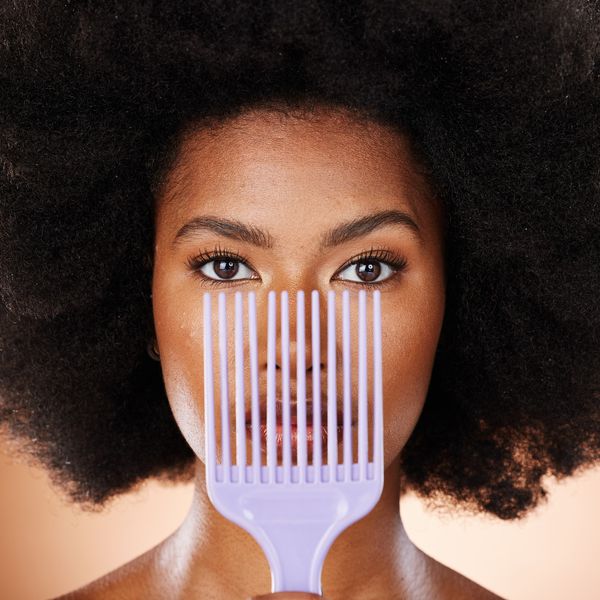
Featured image by Shutterstock
- I Got To Wear The Same Wig As Normani & Here's The Tea ... ›
- Cardi B Hair Stylist Cliff Vmir Schools Us On Wigs - xoNecole ... ›
- How To Avoid Heat Damage - xoNecole ›
- Bonita Locs Protective Style Inspiration - xoNecole ›
- How To Take Care Of Braids - xoNecole ›
- My Struggle With Alopecia: How I Learned To Find the Beauty In My Baldness - xoNecole ›
- The Best Braid Sprays To Moisturize Dry Itchy Scalp - xoNecole ›
- The Absolute Best Products For Natural Hair - xoNecole ›
- Protect Your Natural Hair Under a Wig | Hair Care ›
- How to Care for Your Natural Hair Under Wigs ›
- Natural Hair Under Wig Hair Care So Your Hair Stays Healthy! ›
- How To Maintain Your Hair Underneath A Wig ›
- How to Care for Braids and Scalp Underneath a Wig | Allure ›
- How To Care For Natural Hair Under A Wig: Best Products ›