Another year is here. A year to “get it right” if there are some things that, admittedly, you know you got all wrong in 2021 when it comes to your tresses. As for myself, I’ve got to admit that last year just might be the one that helped me to see the most personal progress. A part of the reason is because I applied some of the very tips that I’m about to recommend to you. So, if you’re ready for your hair to be longer and healthier than it’s been in a really long time, these 11 tips are some of the things that can help you to reach your goal.
1. Get More Vitamin D into Your System
Last spring, I wrote “A Lot Of Black Women Are Vitamin D Deficient. Here's The Fix.” for the platform. There are a myriad of reasons why Vitamin D is important to your overall health and well-being; however, when it comes to your hair specifically, it’s good for you because it stimulates the production of new hair follicles, helps to strengthen old ones and, because a Vitamin D deficiency is connected to hair loss — well, it’s clear that it is imperative to either take a supplement that contains this nutrient and/or eat foods that are high in Vitamin D. Some of those include salmon, cod liver oil, fortified cereals, fortified orange juice and eggs.
2. Eat More Foods That Are High in Zinc
Speaking of foods that you should be consuming, nuts like cashews and peanuts, whole grains, potatoes, kale and pumpkin seeds are all really good for you because they are high in zinc. Your hair needs zinc in order to thrive because it helps to keep your hair follicles moisturized. Not only that but zinc is great when it comes to hair tissue growth and repair. So, if you’re looking for a way to reduce breakage from the inside out, consuming zinc-enriched foods is an effective way to do it.
3. Invest in a Conditioning Cap
There’s no way that your hair is going to stay healthy and grow longer if you’re not deep conditioning it, pretty much on every wash day. If you want to go “2.0” on it, you should cop yourself a conditioning cap. It helps your hair to generate heat, so that whatever conditioner you are using, it will be able to deeply penetrate your hair’s cuticles. Natural Hair Insights is a site that has a list of some conditioning caps that are great for natural hair. You can check it out here.
4. Buy Yourself a Hair Steamer
Speaking of tools that will help to moisturize your hair, if you don’t own a hair steamer, there’s no time like the present to make a move. It’s something else that helps your conditioner to penetrate your hair. It also helps to produce elasticity. If you happen to have low porosity hair (which means it’s hard for your hair to maintain moisture), a hair steamer can keep moisture in your hair for a longer period of time. It can also reduce scalp dryness, itchiness and irritation. As far as the best hair steamers that are currently on the market for us, NaturalHair-Products can totally hook you up. Read their list here.
5. Use More Plastic Sectioning Clips
Trust me, if you’ve got super long, really thick and very curly hair, you are definitely going to need to get yourself some plastic sectioning clips. They will keep you from pulling out a lot of your hair (especially when it’s wet) while doing a lot of brushing and combing. They also work really well on wash days or when you want to detox your scalp (read more about why that’s something you should consider doing by checking out “Treat Your Scalp To A Little Bit Of Detoxing This Weekend”). By the way, plastic ones are better than metal ones because metal ones tend to snag your hair which can lead to tangles and breakage.
6. Treat Yourself to Some Almond Milk Rinses
Your hair is made up of mostly protein; so, of course, it needs protein treatments from time to time. All-out protein treatments are recommended every 4-8 weeks but if you want to do some upkeep in between those, DIY an almond milk hair rinse. By combining one-third cup of almond milk (for the protein boost), two tablespoons of honey (honey is a humectant which means it pulls moisture from the air) and one tablespoon of grapeseed oil (it’s loaded with Vitamin E and oxidants) and pouring the rinse on your hair and letting it sit for 20-30 minutes prior to shampooing and conditioning your hair, your locks will not only feel softer but stronger as well.
(By the way, signs that you need aprotein treatment include your hair being spongy, being limp and not being able to hold a style. Also, if you’ve got high porosity hair — which means you’ve got “gaps” in your cuticles that make it easy for your hair to get too much moisture — you definitely could benefit from consistent protein treatments as well.)
7. Massage Your Scalp with Cedarwood Oil
Cedarwood essential oil is good for your scalp and hair for a few reasons. It increases blood circulation to your scalp, so that your hair follicles are able to receive the nutrients that they need. It contains properties that help to keep dandruff and product build-up from irritating your scalp. Cedarwood oil also reduces scalp inflammation, decreases stress levels and helps to keep your scalp and hair moisturized. And since a scalp massage also stimulates hair follicles and decreases stress levels, I’m pretty sure you can see why adding a few drops of cedarwood to your favorite carrier oil, warming it in the microwave for 10 seconds and then gently massaging your scalp with your fingertips can feel super amazing while being really beneficial for your hair, from root to tip, too.
8. Use More Texturizing Serum
When it’s used in moderation, I’m a pretty big fan of hair serum; especially on natural hair. It gives your hair the kind of “slick” that makes it easier to style. It helps to bring sheen to your locks while adding lots of curl definition. It also reduces frizz which is always a huge plus. And if you decide to go with a texturizing cream, it can accentuate your natural texture without making your hair stiff (like some hair serums tend to do when there’s been a bit of build-up). Texturizing serum is also dope because it gives structure to blow-outs and can give you the perfect finger waves if that’s what you’re after. While there are plenty of serums on the market, a brand that’s currently getting a lot of attention in these streets (as far as a texturizing serum goes) is Davines. You can order it here.
9. Ease Up on Your Edges
I once read an article that said that the reason why a lot of us are obsessed with creating “baby hair” is because we’re still falling for the myth of what “good hair” looks like. Whether you believe that or not, what is a fact is hair around your edges and nape are pretty fragile (check out “7 Tips For Getting The Edges And Nape Of Your Neck To Grow Faster”), alcohol-based products will dry them out and could lead to breakage and the less manipulating you do to them, the better. Listen, I know more women than I should who were super caught up in having “laid” edges and/or being careless with lace fronts who are now bald around their edges as a direct result. It’s not worth it when it can be avoided; for a lot of us, taking the “less is more” approach with our edges is the key.
10. Be Super Gentle with Your Ends and Style More with Your Fingers
Your hair is always growing, so to think that you’re not gaining inches because it’s not doing just that is a lie. So long as you don’t have some sort of scalp or hair disorder, the main thing to focus on is making sure that your ends aren’t breaking off at the speed that your hair is growing out of your scalp. Here’s the thing — unless you are styling your hair in a way that calls for clean and precise parts (or you’re detangling on wash day), more times than not, you can survive styling your hair without combs and brushes. This is a good thing to know because when you opt for using your fingers instead, you can feel for knots and tangles; plus, it’s easier to control the amount of pressure that you apply.
As a result, you’ll have less tearing, less breakage and that means you’ll have longer and stronger strands. I won’t lie to you, styling with your fingers requires quite a bit more time and patience — but hey, if that means that there will be less hair in your comb and more on your head, isn’t it worth it? Exactly.
11. REST
Sleep deprivation is directly tied to excessive hair shedding and even hair loss because a lack of sleep reduces the amount of melatonin that your body produces which can hinder hair growth. A lack of rest can also result in your hair being pushed into a “resting phase” where it no longer grows. So, if you know that you’ve been getting less than five hours a night, at least for your hair’s sake, try and push it up to seven. Something tells me that if you do it on a consistent basis, your hair just may surprise you when it comes to how it picks up a bit of speed on the growing tip. Keep us posted.
Featured image by Getty Images
Your December 2025 Monthly Horoscopes Are All About Surrender & Alignment
December is about letting go. We end the year with the need for more peace, reflection, and rejuvenation, and that is exactly what December is providing for us. The Sun is in Sagittarius, and anything is possible. This is the month to believe in that and to know that the universe is supporting you. With a Supermoon in Gemini as we begin the month as well, we have an opportunity to gain the closure we have been looking for this year and to wrap up old projects, ideas, and communication breakthroughs.
This is the month to make your peace the priority and let go of trying to control the way the tides are turning. Trust in your new beginning, and give yourself time to prepare for it this month.
A big part of the clarity that is coming through this month is due to Neptune going direct in Pisces on December 10, after being retrograde here since July. With Neptune now direct, we are able to see our inspiration and creativity a little more clearly, providing the perfect energy for dreams and manifestation to be built upon. The smoke is clearing, and it’s up to you to decide what you want to do with this newfound clarity that this transit is bringing. Mercury also moves back into Sagittarius on December 11, which is great for communication and clarity, and the adventures you were trying to see through at the beginning of November come around for you again with greater purpose and support.
On December 15, Mars enters Capricorn until the end of January 2026, and this is the extra push we need to make important changes and to be on the path towards greater abundance, stability, and prosperity. Mars in Capricorn takes care of business, and we have extra energy at our disposal during this time to do so. This transit is an ideal time to focus on your career or financial goals for next year and to start putting some of these plans into motion now. A few days later, we have the New Moon of the month, which will be in Sagittarius on December 19, and this is the perfect New Moon to manifest.
The energy is high, magic is in the air, and it’s all about moving forward with the new beginnings that are inspiring you and bringing you joy to think about right now.
Capricorn Season officially begins on December 21, and this earth sign energy is how we heal, gain closure, and build new foundations in our world. With Venus also moving into a Capricorn a few days later, there is something about peace, prosperity, and security that we are gaining in life and in love as we close out the year, and this is what we need right now. This month is about reflecting on what was, letting go of old hurt, and renewing. December is an ending and a new beginning in one, and there is magic in this space to be created.
Read for your sun and rising sign below to see what December 2025 has in store for you.
 AriesKyra Jay for xoNecole
ARIES
December is a full-circle moment for you, Aries. You are seeing the gifts in your world and have a lot of gratitude for the way things have come about for you as of late. There are culminations in your world that are providing you with more abundance, stability, and community, and you are exactly where you are meant to be this month. With the Sun in a fellow fire sign and in your 9th house of travel for most of the month, December is a good time to get out of your comfort zone, explore the world around you, and get your body moving.
Mars, your ruling planet, also makes a change and moves into Capricorn on December 15, which will fuel your inspiration and power in your career space. You are making a lot of professional progress as we close out the year; however, make sure to be more mindful of your competitive drive right now. The New Moon on December 19 is the perfect opportunity for you to create some new plans and goals when it comes to traveling, education, and where you want to gain some new inspiration in your world. Overall, this is a month of things coming together for you serendipitously.
 TaurusKyra Jay for xoNecole
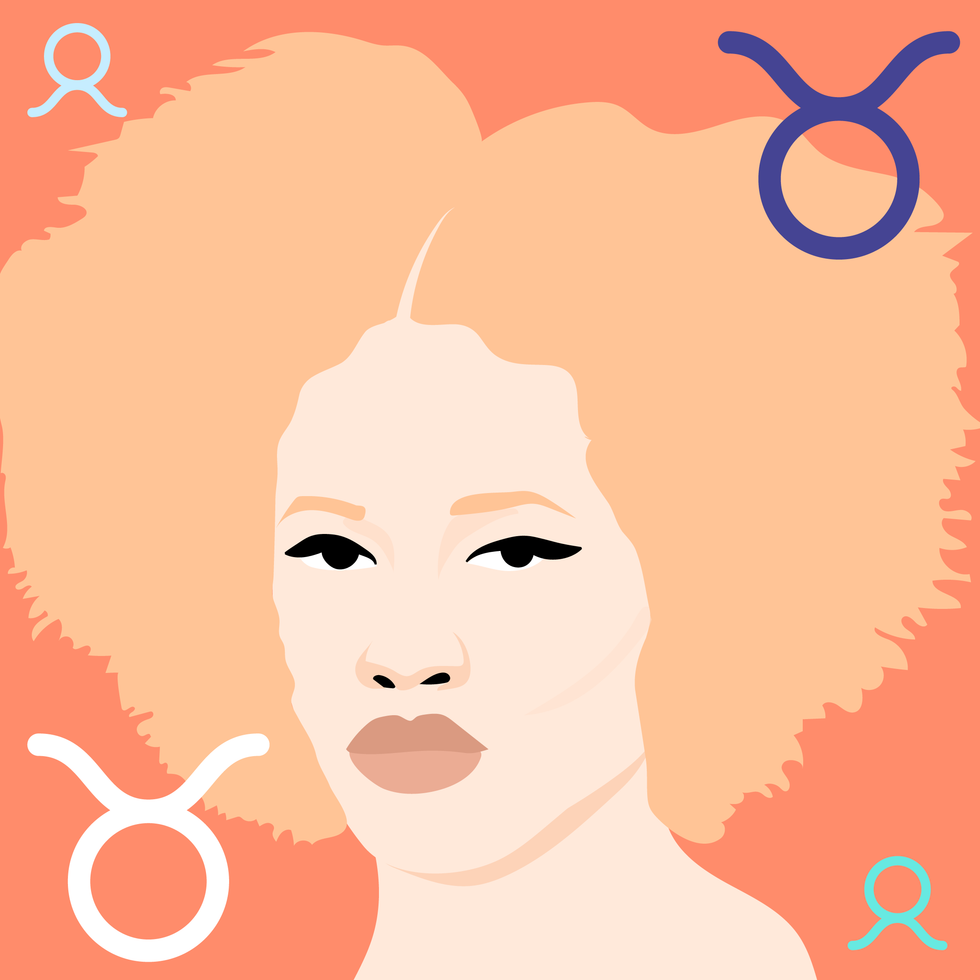
TAURUS
December is about trusting your intuition, Taurus. You have a lot on your mind this month, and it’s best to delegate, communicate, and allow yourself some relief by opening up to someone and not feeling like you have to hold everything in. As we begin the month, we have a Supermoon in Gemini happening in your house of income, and the plans and projects you have been building here come to fruition for you now. This is the time to gain clarity on your financial world and to take a look at what spending habits you want to let go of here as well.
With Venus in your 8th house of shared resources for most of the month, you are doing a cleanse on your commitments, partnerships, and business ventures. You are taking a look at what you want to dedicate yourself to in the future, and what commitments you may need to let go of now in order to be in the space you truly want to be, both financially and within some of your relationship dynamics. Before we end the month, we have a New Moon in this same area of your chart, and it’s time to look at the opportunities that are presenting themselves and to trust your internal guidance system to lead you forward.
 GeminiKyra Jay for xoNecole
GEMINI
You are moving forward fearlessly this month, Gemini. December is your month of love, passion, and dignity, and you are owning the light that you shine. We begin the month with the last Supermoon of the year, happening in your sign, and you are stepping up to the plate. You are showing up, owning how much you have grown this year, and allowing yourself to heal while also acknowledging that you have done your best and you deserve to have fun in the midst of the changes you are creating.
Mercury, your ruling planet, is officially out of retrograde, and you can use this energy to the fullest potential now. With Mercury in your 7th house of love, it’s time to speak from the heart and to talk about the things that matter and that are inspiring you right now to your loved ones. You never know what kind of epiphanies you may have when you open up the conversation to others. Before the month ends, you have a New Moon in this same love area of your chart, and this New Moon is all about manifesting romance, commitment, and abundance in your world.
 CancerKyra Jay for xoNecole
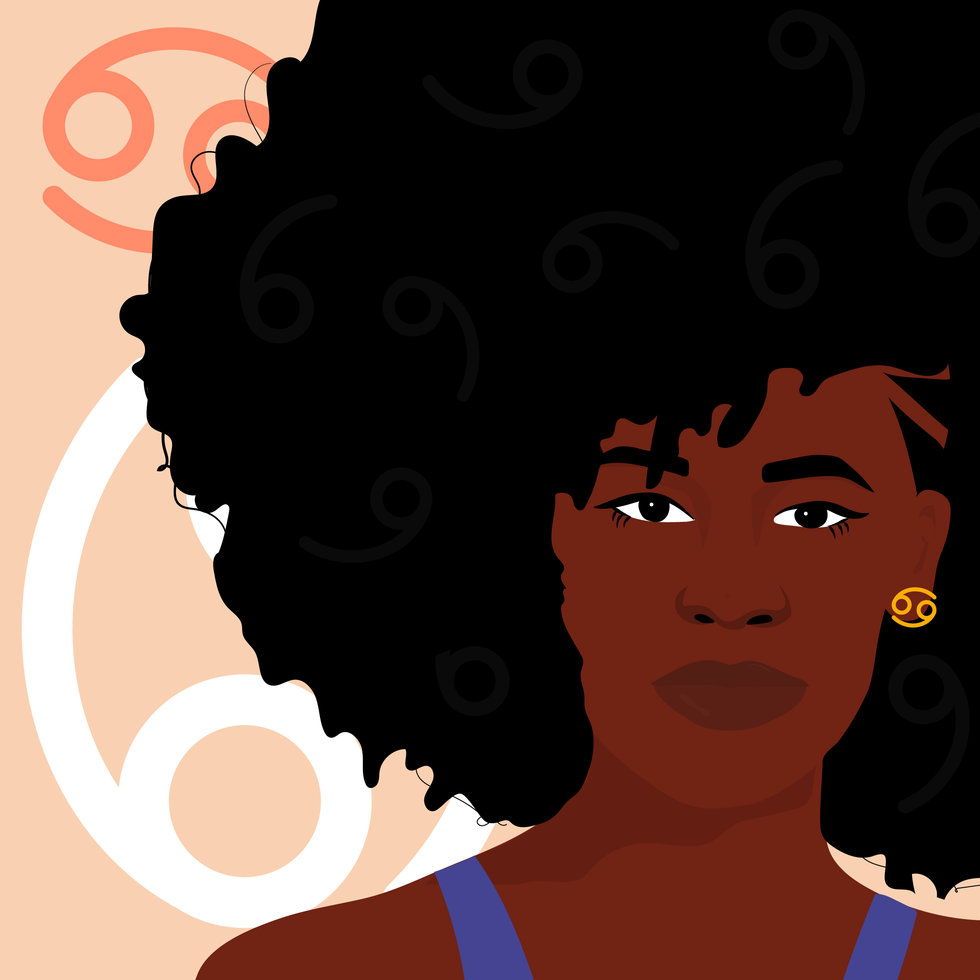
CANCER
December is an opening for more love, more joy, and more freedom in your life, Cancer. You have come to a place where you hold so much gratitude in your heart for where you are today and where your heart is shining, and things come together for you with more ease right now. With the Sun in your 6th house of health, work, and daily routines for most of the month, you are getting your ducks in a row while also putting more energy and effort into taking care of yourself, your priorities, and your well-being. This month surprises you in many ways, and it’s because you are showing up.
Mars and Venus both move into your house of love, relationships, marriage, and abundance this month, and you are making strides in your love life. You have both of these opposing forces on your side and are being recognized for the love you are while also receiving the love you want. This month, overall, is about focusing more on the positives in your world and letting your heart have its joy. Before December comes to an end, there is a New Moon in Sagittarius, and this is the perfect opportunity to create the plans you want to see through next year, especially when it comes to your work life, colleagues, business ventures, and health.
 LeoKyra Jay for xoNecole
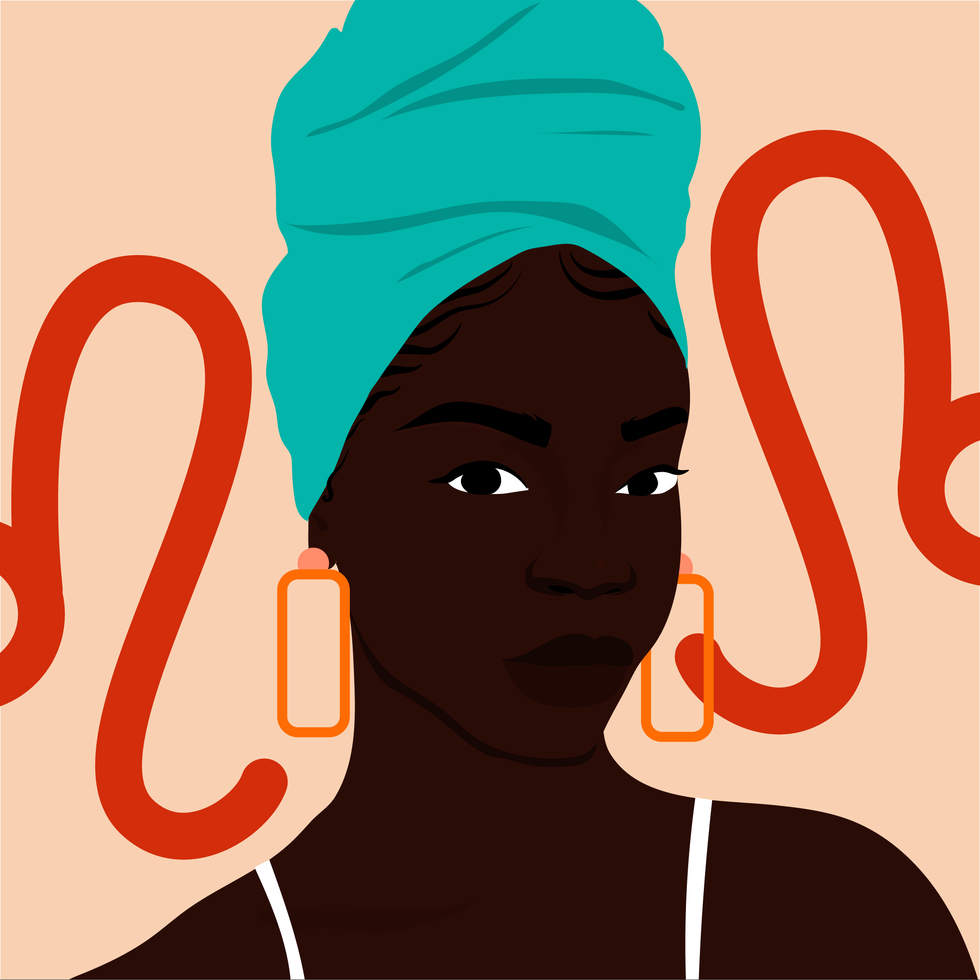
LEO
The scales of karma are balancing, and they are balancing in your favor this month, Leo. December is your month of truth, and of seeing it clearly in your world. The Sun is in your house of romance, pleasure, and happiness for most of the month, and it’s time to relax, be in the present moment, and allow what is meant to be, to be. With a Supermoon in your 11th house of manifestation as December begins, this is a powerful month for seeing your dreams come to fruition, and for feeling like the intentions you have set this year are finally here for you now.
Mars also moves into your 6th house mid-month, and this is the perfect energy to have to move into the new year. You have extra energy at your disposal right now and are feeling fearless with what is possible for you and your daily routine. Before the month ends, we also have a New Moon in a fellow fire sign, Sagittarius, and this is a breakthrough moment for you and your heart. December, overall, wants to show you how loved and supported you are and will be doing so in magical, unexpected, and concrete ways.
 VirgoKyra Jay for xoNecole
VIRGO
December is a month of victory, Virgo. You are showing up and experiencing some new successes in your world that move you forward on your path in life. With a Supermoon in your 10th house of career as we begin the month, the effort and intentions you have made this year come into full bloom, and you are being recognized for who you are and the good work you have done. This month is all about showing up and allowing yourself to be seen and loved, knowing that you deserve the support and opportunities you are receiving.
Mars moves into Capricorn on December 15, which brings the passion and excitement into your love life, hobbies, and little pleasures in life that light you up. You want to have fun this month and are going to be walking into the new year with this fearless, happy, and spontaneous energy within you. Before the month ends, Venus also enters Capricorn, and in this same area of your chart, you have a lot to look forward to and believe in right now. Overall, December wants you to be happy and will be doing everything possible to make that happen for you. This is your month to shine, Virgo.
 LibraKyra Jay for xoNecole
LIBRA
December is a month of opportunity for you, Libra. New doors open, and you are financially making breakthroughs this month because of it. December begins with a Supermoon in your 9th house, and you are getting a clearer view of where you have been making strides in your life and how it has all brought you here to this present moment of freedom. This month is showing you what happens when you are fearless with your purpose and when you believe in yourself and what you are worthy of.
Moving further into December, Mars moves into your 4th house of home and family mid-month, and you are closing out the year in your safe spaces. You are spending more time with your loved ones and taking the time to quiet your mind and listen to what your heart has been telling you. Before the month ends, we have a New Moon in Sagittarius, happening in an area of your life that deals with communication. This is a great time for getting the answers you have been looking for and for feeling more clear-headed and confident about the decisions you are making as you move into the new year.
 ScorpioKyra Jay for xoNecole
SCORPIO
Patience is a virtue this month, Scorpio. December is all about remaining patient and vigilant with what you are creating in your world, and knowing that the universe has your back. It’s time to be reminded of the power of hope, and this month is an opening to greater clarity in your life. There is a lot of energy in your financial zones right now, and this is providing you with new opportunities and new insight; however, the speed at which things come about for you may feel daunting. Keep your head up and eyes focused on what you want and know that you are more than worthy of receiving it.
With Mercury in your 2nd house of income this month, December is a good time to plant new seeds and to think about where you want to be financially a month from now or even a year. This month is asking you to think bigger and to think more long-term so that you can set the appropriate plans into motion now. We also have a New Moon in your house of income before the month ends, and this is when you will see more of your dreams come to fruition in this area of your life, and have more opportunities to build. Overall, December will be teaching you a lot, Scorpio.
 SagittariusKyra Jay for xoNecole
SAGITTARIUS
Sagittarius Season is here, and there is a lot in store for you this month, Sag. December is all about what you are dedicating yourself to. It’s about setting your intentions and putting the work in to back up your dreams, and about getting things in order so that when the new beginnings come, you are ready for them. The Sun and Venus are in your sign for most of this month, and there are a lot of eyes on you right now. You have the potential to create a new beginning for yourself, and it’s time to invest in yourself, your love life, and your dreams.
Mercury moves into Sagittarius on December 11, and this is giving you another opportunity to see through some of the plans that you had initiated in November. Mercury was retrograde in your sign last month, and there may have been some disruptions to your vision and plans for the future, and now this energy is turning around for you. Before the month ends, we also have a New Moon in Sagittarius, and you are walking through new doors fearlessly. You are catching others by surprise by your growth this month, and you are thinking a lot about your purpose, future, and plans for the new year.
 CapricornKyra Jay for xoNecole
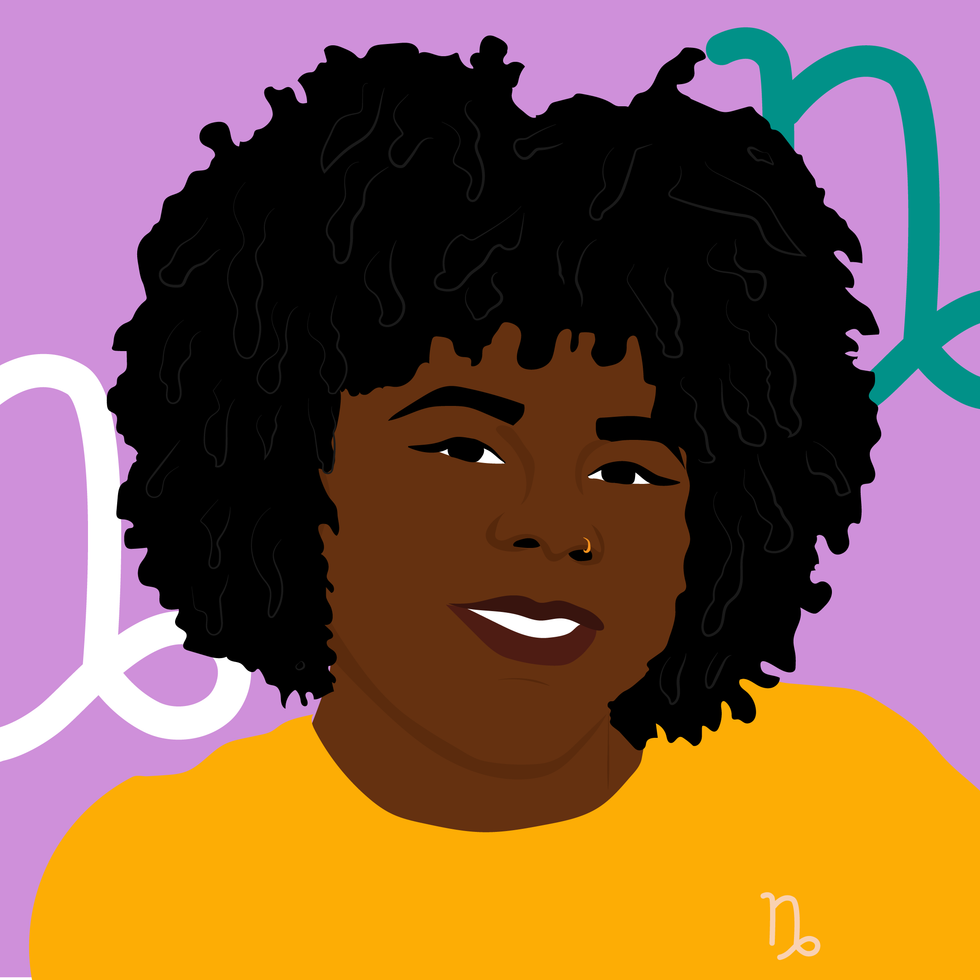
CAPRICORN
December is all about the vision, Capricorn. You are moving through a lot of changes and transformations this month, yet they are giving you a chance at a new beginning in the process. You are focused more on the future and what goals you want to manifest for yourself right now, and are ready to let go of what hasn’t been working for you. With the Sun in your 12th house of closure for most of December, this is your time for healing, but remember, healing doesn’t have to be isolating or boring; you can thrive while you renew, and you are this month.
Mid-month, the excitement picks up for you, and you are feeling more energized than you have in a while. Mars moves into Capricorn until the end of January 2026, and you are being proactive with your goals, intentions, and passions. You are a force to be reckoned with this month, and you are making things happen for yourself with confidence. Capricorn Season officially begins on December 21 this year, and this is definitely speeding up your healing process. You are breaking free from what was, and with Venus also moving into Capricorn before the month ends, you are leaving this year in high spirits and with love opening a new door for you.
 AquariusKyra Jay for xoNecole
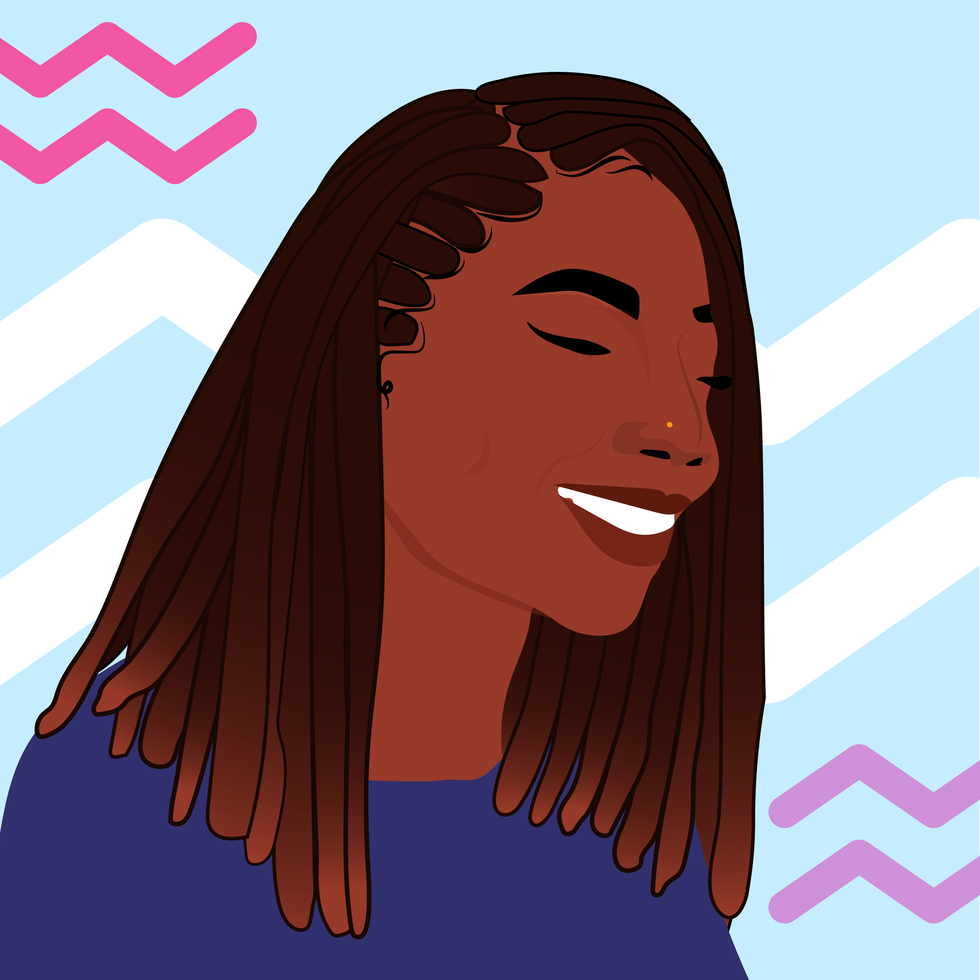
AQUARIUS
December is all about community, creativity, and manifestation, Aquarius. This is the month to work together with others to help bring your dreams to life. You are in a space of inspiration, empowerment, and beauty, and are creating more of this energy around you and in your world. Look out for what support comes your way this month and know that you don’t have to do everything alone to succeed. With the Sun in your 11th house of manifestation and friendship, your intentions are coming to fruition, and it’s time to celebrate with the people you love and to own how far you have come this year.
On December 19, we have a New Moon in Sagittarius, lighting up your life in all of the best ways possible. This is your New Moon of freedom, victory, and magic, and you are seeing new beginnings appear that you were once just hoping for. Before the month comes to an end, Venus moves into your 12th house of closure, and after an active and successful month, you are ready to relax, heal, and give your heart some of the attention it has been asking for. You are moving into the new year with the need to release and renew what hasn’t been working in your relationships, and you are finally ready to.
 PiscesKyra Jay for xoNecole
PISCES
December is a big month for you, Pisces. You are making some huge accomplishments this month, and are feeling like everything you have been through this year has been worth it for these moments that are coming to fruition for you now. The Sun is in your 10th house of career and reputation for most of the month, and this is where a lot of your focus is right now. You are claiming your successes and putting yourself out there in ways that not only serve you, but that inspire others as well.
Neptune officially goes direct on December 10, after being retrograde in your sign since July, and you are finally seeing things a little more clearly. You are feeling renewed inspiration and passion in your life, and your intuition is your strongest asset right now. Before December comes to an end, we also have a New Moon in your 10th house of career, and what happens now not only changes things for you in the present, but it also opens new doors and what is possible for you in the new year as well. Overall, you are on top of your game this month and are owning the joy and empowerment you feel.
Featured image by Kyra Jay for xoNecole
Don Benjamin On New Projects, Family & How He And His Wife Healed After Public Split
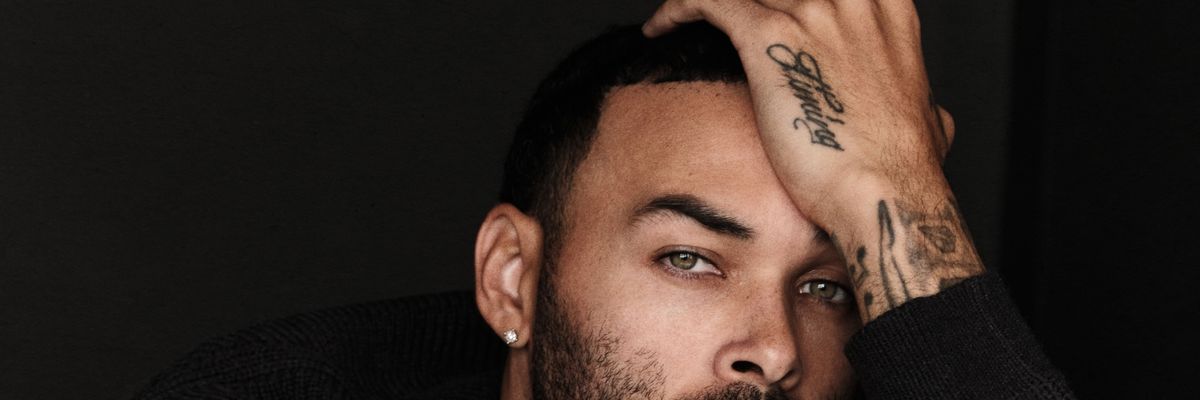
Actor and model Don Benjamin continues to expand in his career while also being a present husband and father. We first learned of the model in 2013, competing on America's Next Top Model Cycle 20, and now he's starring in major films like the recent Jordan Peele movie HIM and Adopted 2.
He was even the leading man in Cardi B's latest music video "Safe," which also features Kehlani. In an exclusive xoNecole interview, Don opens up about his family and this phase in his life.
"Honestly, the funny thing is, it's just like any other phase," he admits. "I just focus on work and growth and leveling up. I'm super excited about this moment because now, I'm finally tapping more into my acting side of stuff." He also shows off his acting skills on social media. Don, along with his wife, Liane V, often shares cute family skits on their respective Instagram and TikTok pages.
The couple share two kids, 2-year-old daughter Zaia Sky and Zaiden, who they had in June 2025. According to Don, Zaia is already following in his footsteps. "She's already doing more modeling jobs than me as of lately, and we want to get her in some acting. She loves the camera," he says. "It'll be nice to see if she follows in my footsteps, and I can kind of help line some things up for her."
Don and Liane have been married for four years, but had a very public breakup the year before. The Scared Famous star reveals how they did the work to heal and move forward together.
"We had our time to separate and work on self-growth, things that I needed to do for myself as a man, and working with life coaches and therapists, and she got the time to do what she needed to do. So when we came back together, we were in the right space mentally. We got a relationship coach that we can go through things with and talk about and work on and these things were important for us. Now, over the years, I feel like that actually helped us come closer together. That moment helped us come closer together."
"We had our time to separate and work on self growth, things that I needed to do for myself as a man, and working with life coaches and therapists, and she got the time to do what she needed to do. So when we came back together, we were in the right space mentally."
He continues, "I did what I had to do to understand [that] as a man, I never really had any male guidance in my life. So it was able to align me with the right coaches and pastors and therapists and people that I needed to align with to work on things that I had been dealing with in life. Then she got the space that she needed as a woman to work on her independence.
"We came back together strong, and now we were able to get married in the right space. A lot of times, people jump into marriage when they're not fully healed or in the right headspace. So we were able to get married in that right space. For us, it's been a beautiful thing, and we're able to use that as as an example."
Don also believes it's important to set an example for their kids, especially when it comes to love and respect. While the actor grew up without his dad, he has made it his priority to instill love in his kids by showing up for them and giving them words of affirmations.
As far as what's next for Don, he is starring and executive producing a paranormal activity film titled, holySmoke. "I'm loving the drama and horror space right now," he says.
"I always love a good romantic comedy, but right now. I seem to be getting reeled into all these horror films and thrillers and dramas."
Let’s make things inbox official! Sign up for the xoNecole newsletter for love, wellness, career, and exclusive content delivered straight to your inbox.
Feature image Nikita Melvil

