Hair
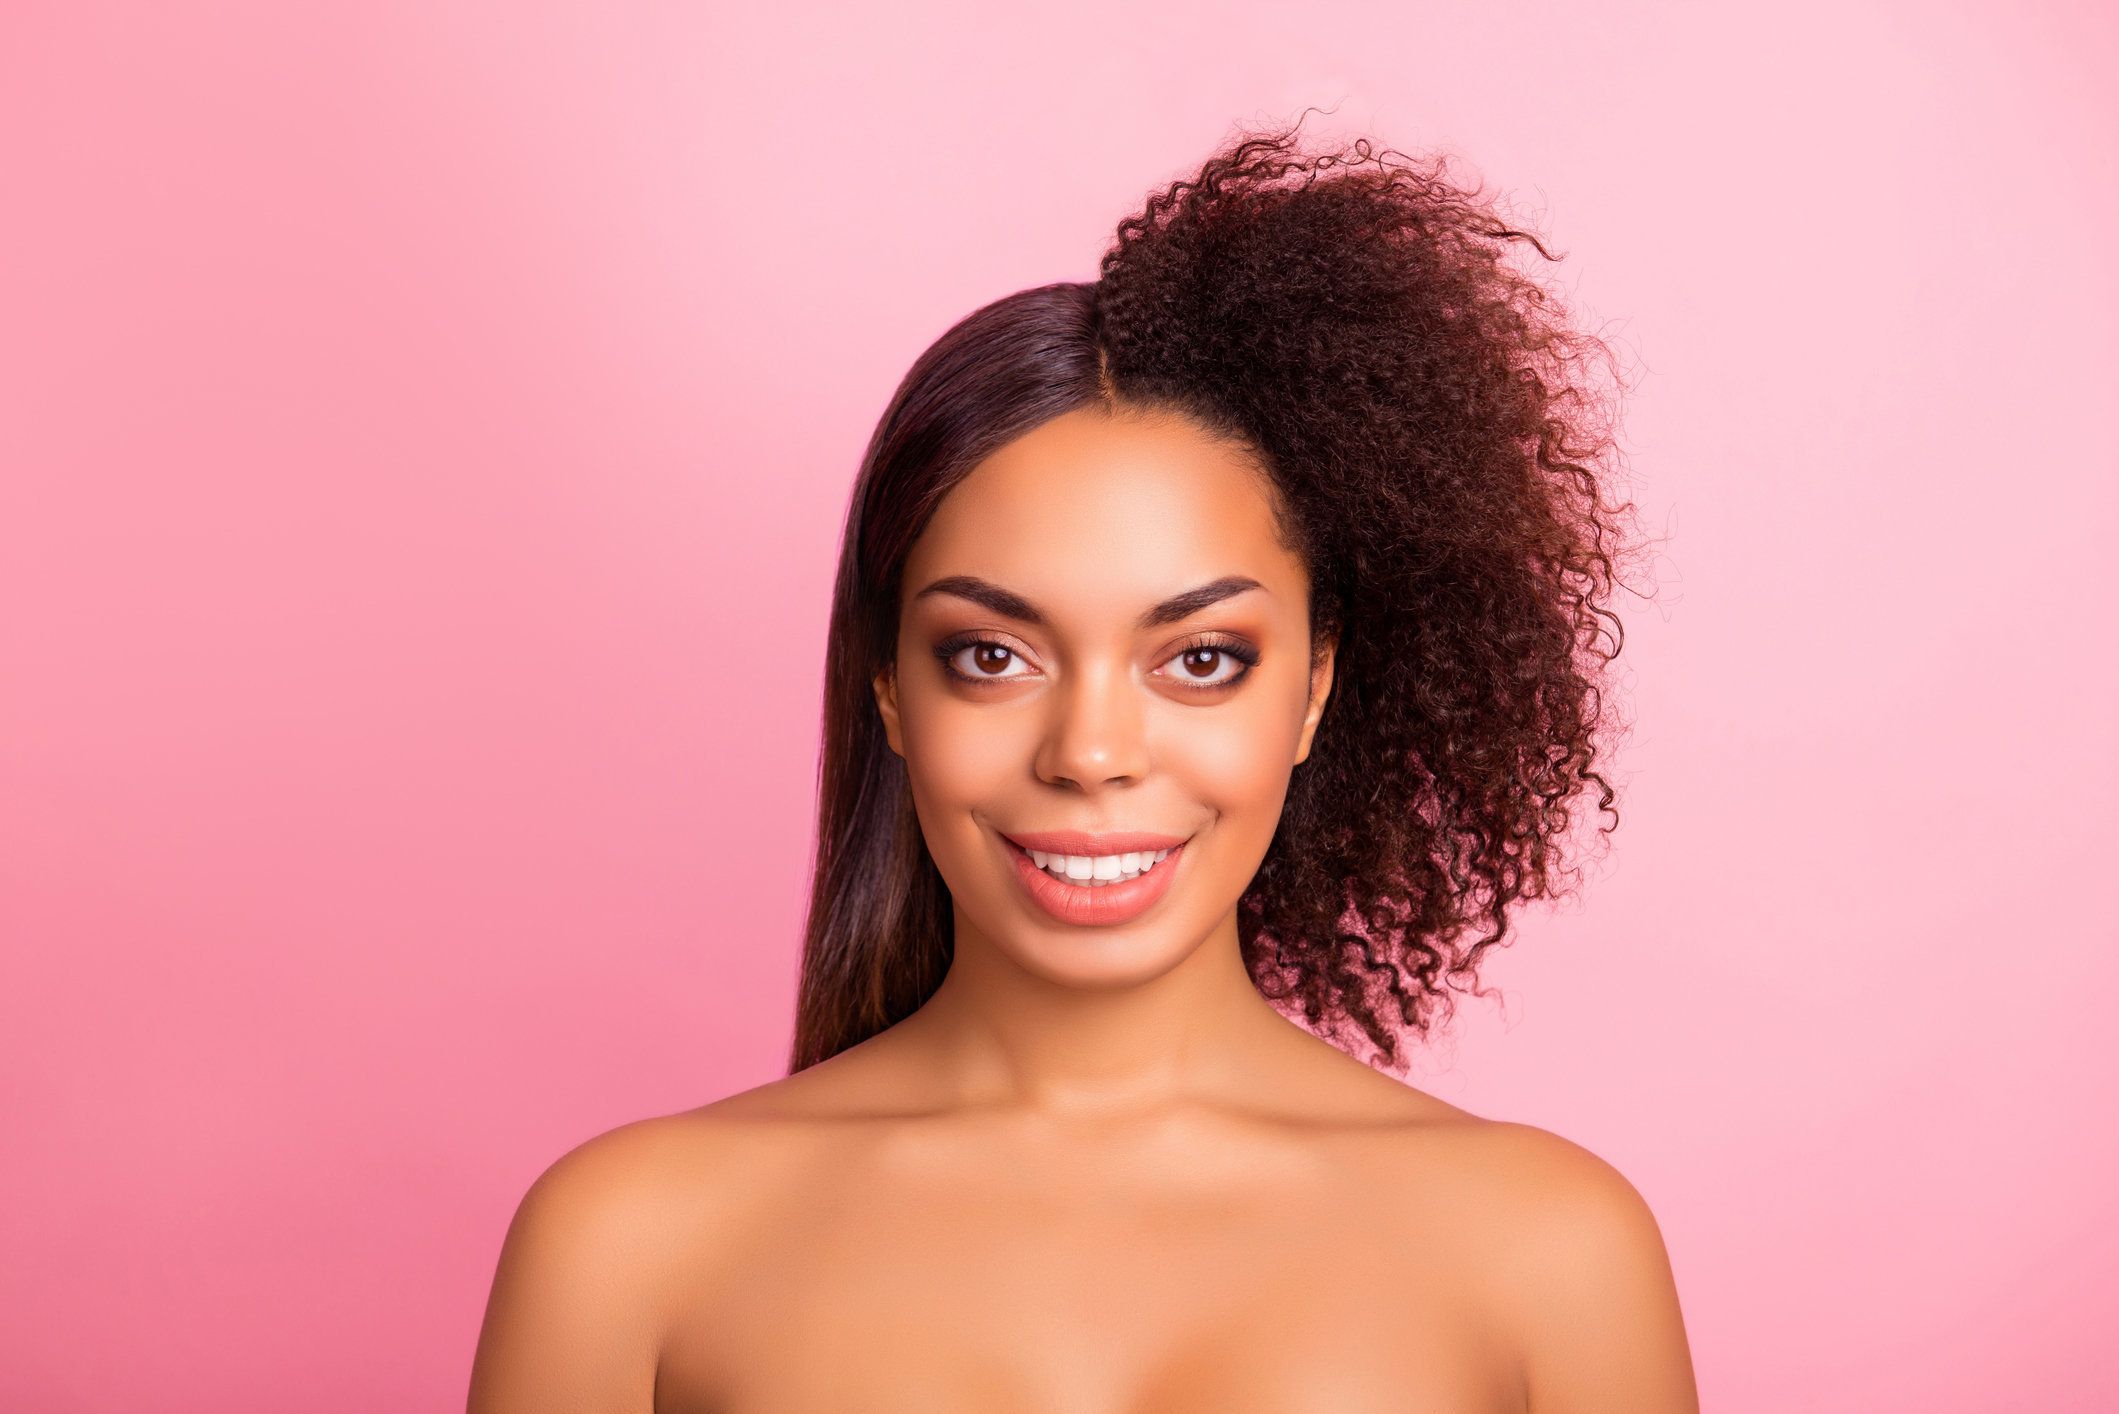
No matter how we try to fight the urge, at some point, most of us will get the itch to straighten our beautiful natural tresses in lieu of a "length check" or a special occasion. Inevitably, we will regret it for months or even years to come as we are forced to cut heat damaged areas or be forever subjected to using perm rods in hopes of achieving a curl pattern that somehow blends with our natural textures.
After two years of avoiding what was deemed the arch nemesis of my crowning glory, I fell weak to the desire for sleek hair that only a flat iron could give me. But this time, I was determined to do everything in my power to minimize the fall out of this decision.
As such, I headed over to YouTube and Google in hopes of finding products that would save me from future heartache. Lo and behold, I ran across the trusted advice of stylists like @moknowshair and @shassitystyles and decided to implement their recommendations for preventing heat damage along with suggestions from the kind folks at my local beauty supply store. Here's a quick breakdown of my experience:
Step One:
Intent on a successful outcome, I started by applying KeraCare Thermal Wonder Pre-Poo Conditioner to dry hair. Next, I covered my hair with a plastic cap and left it on overnight. I was skeptical that one package would properly coat all of my hair so I bought about three packs. To my surprise, one was more than enough.
Step Two:
Amazon
The next day, I drove to my hair appointment with the Pre-Poo conditioner in my hair. Upon my arrival at the salon, my beautician rinsed out the conditioner washing my hair as normal. After detangling my hair, I requested that she apply Aphogee Keratin & Green Tea Restructurizer for added protein and strength.
Using a wide tooth comb, we ensured that the product was evenly applied to my hair.
Step Three:
Next, we misted my entire head using KeraCare Thermal Wonder 6 in 1 Thermal Protector. This thermal protector not only minimizes heat damage but makes the straightening process easier. After blow drying my hair on medium-high heat, the stylist followed up with the thermal protector on each section of hair before straightening. The end result was beautifully flowing hair.
After
The real test would come over the next few days. My usual practice was to attempt maintaining the bone straight salon look by flat ironing my hair each morning. This time, I held off on the heat. Instead, I twisted my hair into a bedtime bun at the top of my head, which I secured with a few bobby pins. The next day, my curls were still there. As time went on, curls turned to waves, which was perfectly fine by me.
After nearly two weeks of wear, it was time to see if my hair had survived the heat. I started dancing in the shower as it almost immediately sprung back into curls with no heat damage in sight. Finally! The key to avoiding heat damage was unlocked, and I for one am glad about it.
Featured image by Getty Images.
Related Articles:
Top 5 Best Deep Conditioners for Natural Hair - Read More
How To Fix Your Biggest Curly Hair Pet Peeves - Read More
The Best Natural Hair Salons in Atlanta - Read More
From Your Site Articles
- How To Avoid Heat Damage - xoNecole: Women's Interest, Love, Wellness, Beauty ›
- Scared To Straighten Your Natural Hair? Let's Debunk The Heat Damage Myths - xoNecole: Lifestyle, Culture, Love, & Wellness ›
Related Articles Around the Web
- How to Protect Natural Hair from Heat Damage (with Pictures) ›
- How To Fix And Prevent Heat Damaged Hair [Ultimate Tutorial] ›
- How To Avoid Hair Damage from Blow Dryers, Flat Irons, and ... ›
- The Insider's Guide to Preventing and Repairing Heat Damage ›
- How to Avoid Heat Damage to Your Hair | NaturallyCurly.com ›
- 7 Ways to Prevent and Treat Heat Damage on Natural Hair - TGIN ›
- 5 Ways to Avoid Heat Damage | Natural Hair Rules!!! ›
- Tips for Avoiding Heat Damage - Toppik Hair Blog ›
- Updated Straight Hair Routine- How to Avoid Heat Damage (Natural ... ›
- 6 Tips: How to Avoid Heat Damaged Hair| Redken ›
ALSO ON XONECOLE
