

I live in Asia, which means whenever I want to go back to the US to visit, I have to spend ridiculously long amounts of time on an airplane. If you’ve ever taken a long flight across the ocean, then you might be all too familiar with what I call “airplane skin.” You know, dry, itchy, wrinkly, mixed with chapped lips and bloodshot eyes. If you have oily skin, you may get off the plane with your face even more oily than usual. Since becoming a hardcore skincare junkie, I’ve realized the importance of not only having a night and daytime routine, but also a long haul in-flight skincare routine.
Why is a skincare routine on a long flight important? It all comes down to the humidity in the airplane cabin. A good humidity level indoors during the winter is anywhere between 30% to 40%. During the summer, anything below 50% is good. The humidity levels in airplane cabins? It can be anywhere from 15% to a pretty much non-existent 3%. So basically, airplane cabins have no humidity, which is awful for our skin, our eyes, throats, and our sinuses. Whenever people complain of having awful skin after a flight, it’s not only the air being re-circulated over and over again, it’s the low humidity levels that just suck every single drop of moisture from your skin, leaving it dry, red, scaly, itchy, and wrinkly. Gross.

So I combat airplane skin by layering on as much moisture as I possibly can, then adding more moisture every couple of hours. When I travel to the U.S., my flights are 20+ hours long, so hydration is key.
Here are my steps for stepping off the plane looking and feeling fabulous:
1. Keep It Clean
 Missha First Treatment Essence
Cleanse skin using a micellar water like Bioderma or cleansing wipes. I’m anti-cleansing wipes, but the only time I’ll use them is on a plane. I don’t wear makeup when I fly, so I use the wipes to remove surface dirt and to prep my skin for the rest of my routine. If you do wear makeup, make sure that your skin is absolutely clean before moving on to the next steps.
2. Stay Hydrated
Apply a hydrating toner. In Korean skincare, toners are used for hydration, not for cleansing like Western toners. I use the Missha First Treatment Essence. Apply in your palms, and gently press into your skin.
3. Add Moisture
 Missha Super Aqua Hydrating Emulsion
I then apply a lightweight moisturizer. I usually use something like the Missha Super Aqua Hydrating Emulsion. Again, apply in your palms and gently press into your skin.
4. Dab On Oil
 Sulwhasoo Overnight Vitalizing Mask
Next, I like to mix a bit of oil with a sleeping mask. Using both together ensures that your skin is super hydrated and stays that way. I love argan oil mixed with my holy grail Korean beauty product, the Sulwhasoo Overnight Vitalizing Mask. It’s a thick cream that sinks into your skin like magic, and when you wake up, it looks like you’ve had a facial. It’s magic in a tube, and one of my flight essentials. If I’m feeling super dehydrated, I’ll use a sheet mask.
5. Re-apply and Repeat
As a final step, I apply an eye cream and use a hand cream to moisturize my hands and feet. I also apply a hydrating lip balm. Every couple of hours during the flight, I add a little more oil and moisturizer to my skin and reapply lip balm. When the plane is almost ready to land, I cleanse my skin again using a facial wipe, and apply the lightweight moisturizer, and proceed to put on makeup.
I know you’ve read all this and you’re like, “but how do I get all of these products in my small clear bag?” My secret weapon is samples. I have a stack of samples that I keep and use for flights only. You can order samples of your favorite products from eBay, or if you’re near a Sephora or department store you can ask a salesperson for samples. Also, water is essential. I bring a big empty bottle through security, and fill it up once I get into the terminal. I stay away from alcohol and caffeine during flights, as both dehydrate you.
I use this routine on any flight that is three hours or longer. Having an in-flight skincare routine not only ensures that my skin looks fabulous when I land, but that I don’t have to deal with any residual breakouts during my vacation. You gotta look good in that Travel Noire Instagram photo!

As a disclaimer, I am not a doctor or a medical professional. I’m just a woman who loves skincare, and wants to share my tips and tricks on what has worked for me personally. Please see your physician or dermatologist before beginning any new skincare regimen.
RELATED
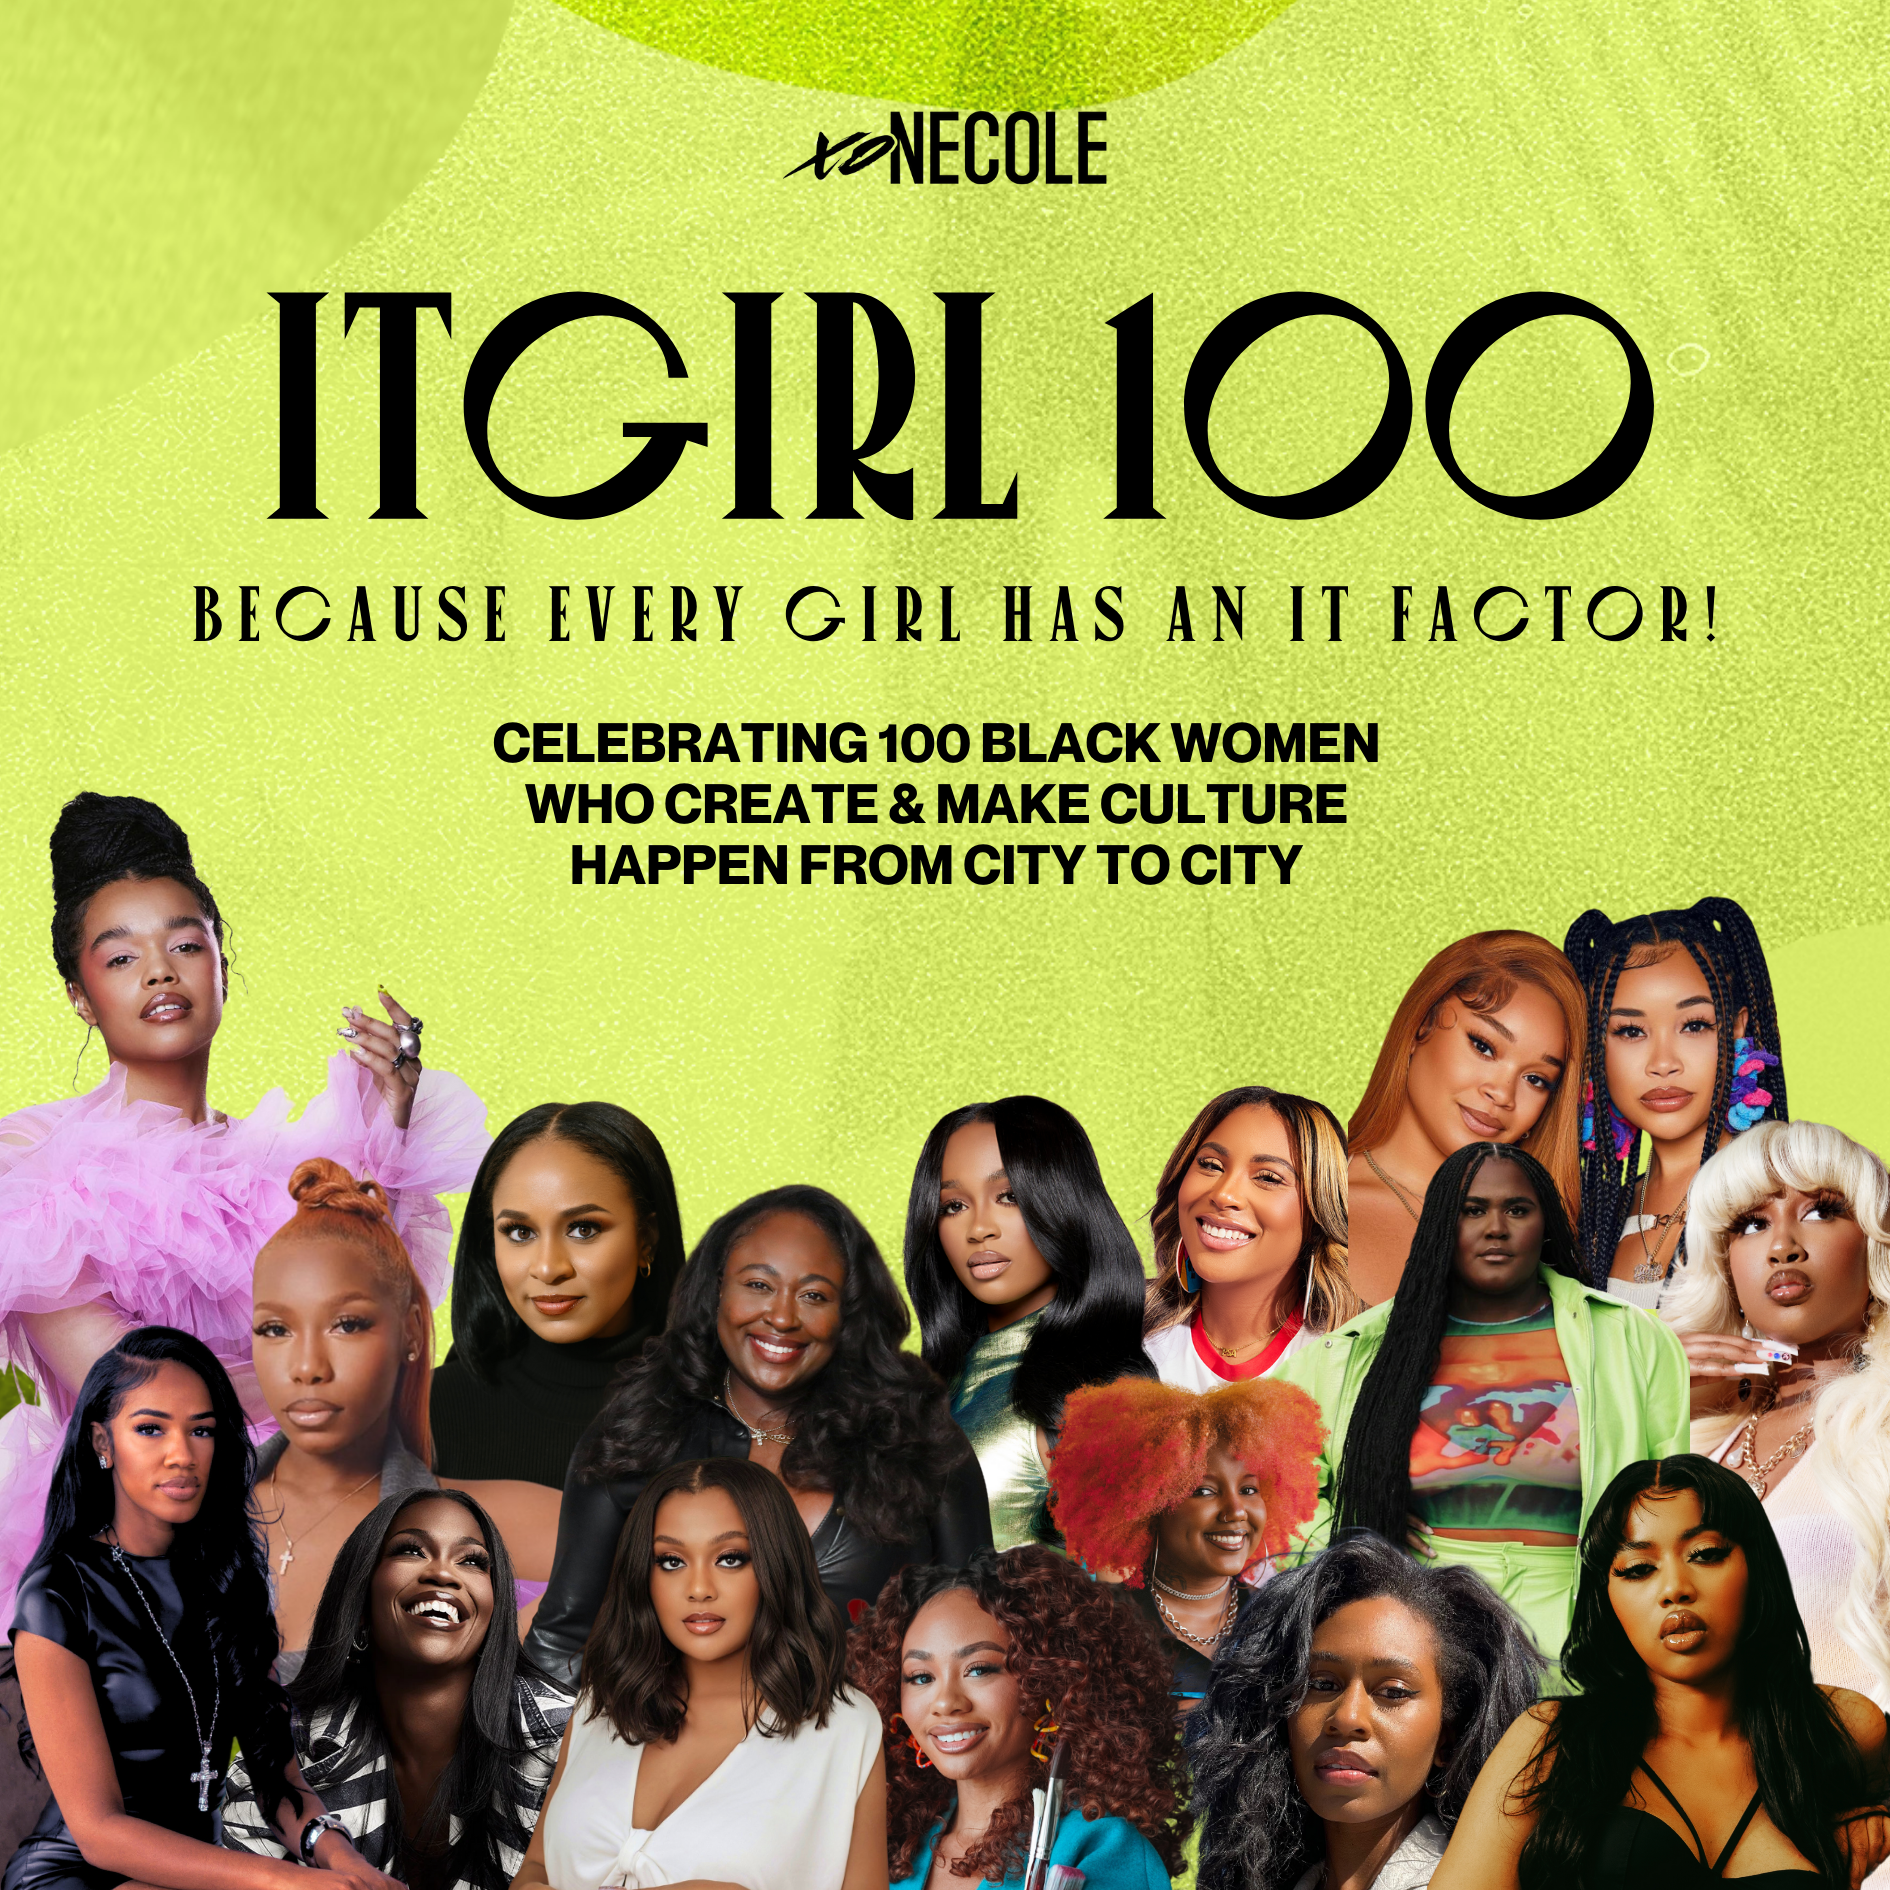


VIEW THE FULL ITGIRL 100 LIST HERE.
Don’t forget to also check out the ItGirl Directory, featuring 50 Black-woman-owned marketing and branding agencies, photographers and videographers, publicists, and more.
THE ITGIRL MEMO

I. An ItGirl puts on for her city and masters her self-worth through purpose.
II. An ItGirl celebrates all the things that make her unique.
III. An ItGirl empowers others to become the best versions of themselves.
IV. An ItGirl leads by example, inspiring others through her actions and integrity.
V. An ItGirl paves the way for authenticity and diversity in all aspects of life.
VI. An ItGirl uses the power of her voice to advocate for positive change in the world.
Let’s make things inbox official! Sign up for the xoNecole newsletter for daily love, wellness, career, and exclusive content delivered straight to your inbox.

How To Get Zoë Kravitz Braids
Bonet's bohemian-chic locks and Lenny Kravitz's rockstar-inspired hairdos were emblematic of their unique style. Essentially, her free-spirited curls and his rebellious dreadlocks served as an innate inspiration for the Zoë Kravitz braids we have come to love today. For this modern-day family, it’s not just fashion statements—their hair is an expression of identity, creativity, and individuality.
In the world of braids, few trends capture attention, quite like the Zoë K style. Let’s talk about all that comes with it.
Vera Anderson/WireImage
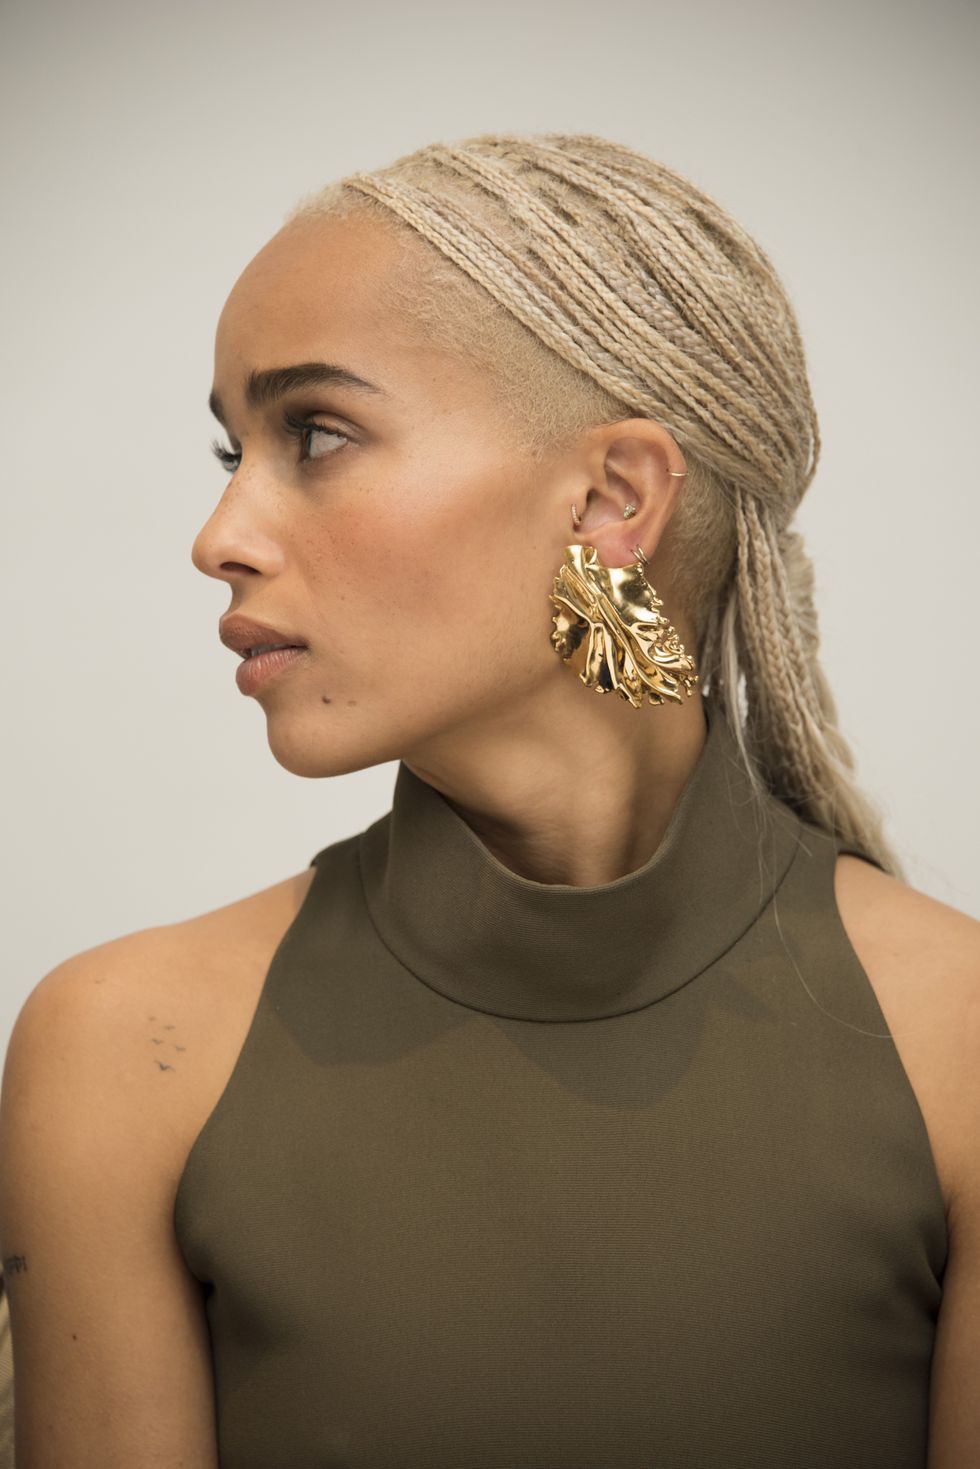
What Are Zoë Kravitz Braids?
These braids typically consist of small to medium-sized box braids, sometimes accessorized with beads or cuffs, and are characterized by their bohemian style.
Rise In Popularity
The Zoë Kravitz braids have gained popularity for their effortlessly cool and stylish appearance. They offer a versatile and low-maintenance option for individuals looking for a protective hairstyle that can be worn for an extended period without daily styling.
According toTeen Vogue, the first time we saw the Big Little Lies star in braids was in 2015 when she starred in the movie DOPE. This became her go-to hairstyle, often seen on magazine covers. In May 2017, she graced the cover of Allure, sporting platinum blonde micro braids in a crown-styled design by the incredibly talented Nikki Nelms.
With ease, Kravitz has showcased the versatility of this style with messy buns, ponytails, and curls, popularizing a carefree, effortless style.
Courtesy
How Long Does It Take To Get Zoë Kravitz Braids?
The time it takes to install Zoë Kravitz braids can vary depending on factors such as the length and thickness of your hair, the size of the braids, and the skill level of the stylist. Generally, it can take anywhere from 4 to 8 hours or more to complete the braiding process.
Associated Costs
Prices vary based on factors such as the location, the salon or stylist's expertise, and the length and thickness of your hair. On average, you can expect to pay anywhere from $350 to $1000 or more for these braiding services.
The Real Tea on Zoë Kravitz Braids: Human Hair Vs Synthetic?
You have the option to use either human hair or synthetic hair extensions for Zoë Kravitz braids. Human hair tends to be more natural-looking and can be styled with heat tools, but it is also more expensive. Synthetic hair is more affordable but may not blend as seamlessly with your natural hair and typically cannot withstand heat styling.
New York-based stylist and owner of The Mu Look, Mulan McCausland, has some thoughts on the matter. “I am 100% against this style being done with synthetic loose hair," she declares. "It's not fair to the clients as it will be very short-lived." Instead, McCausland exclusively employs raw human hair, prioritizing durability and manageability. "Raw human hair for these styles will NOT become matted no matter what," she assures. "It's very easy to care for."
Maintenance Plan
But perhaps the most enticing aspect of the Zoë Kravitz braids, according to the salon owner, is its maintenance. “All you need is a spray bottle with water and a little conditioner, and you're good!”
McCausland's commitment to her client's hair health extends beyond the salon chair. "I always recommend making sure to sleep with a scarf at night," she advises. "My concern is not the human hair or the braids because they can take care of themselves. My only concern is the roots of my client's hair and making sure it can stay as fresh as possible."
Durability
This style is known for its durability and can typically last anywhere from 4 to 8 weeks or even longer with proper care and maintenance. However, factors such as your hair texture, activity level, and how well you care for your braids can affect their longevity. Regular touch-ups may be needed to keep your braids looking fresh as your natural hair grows out.
Courtesy
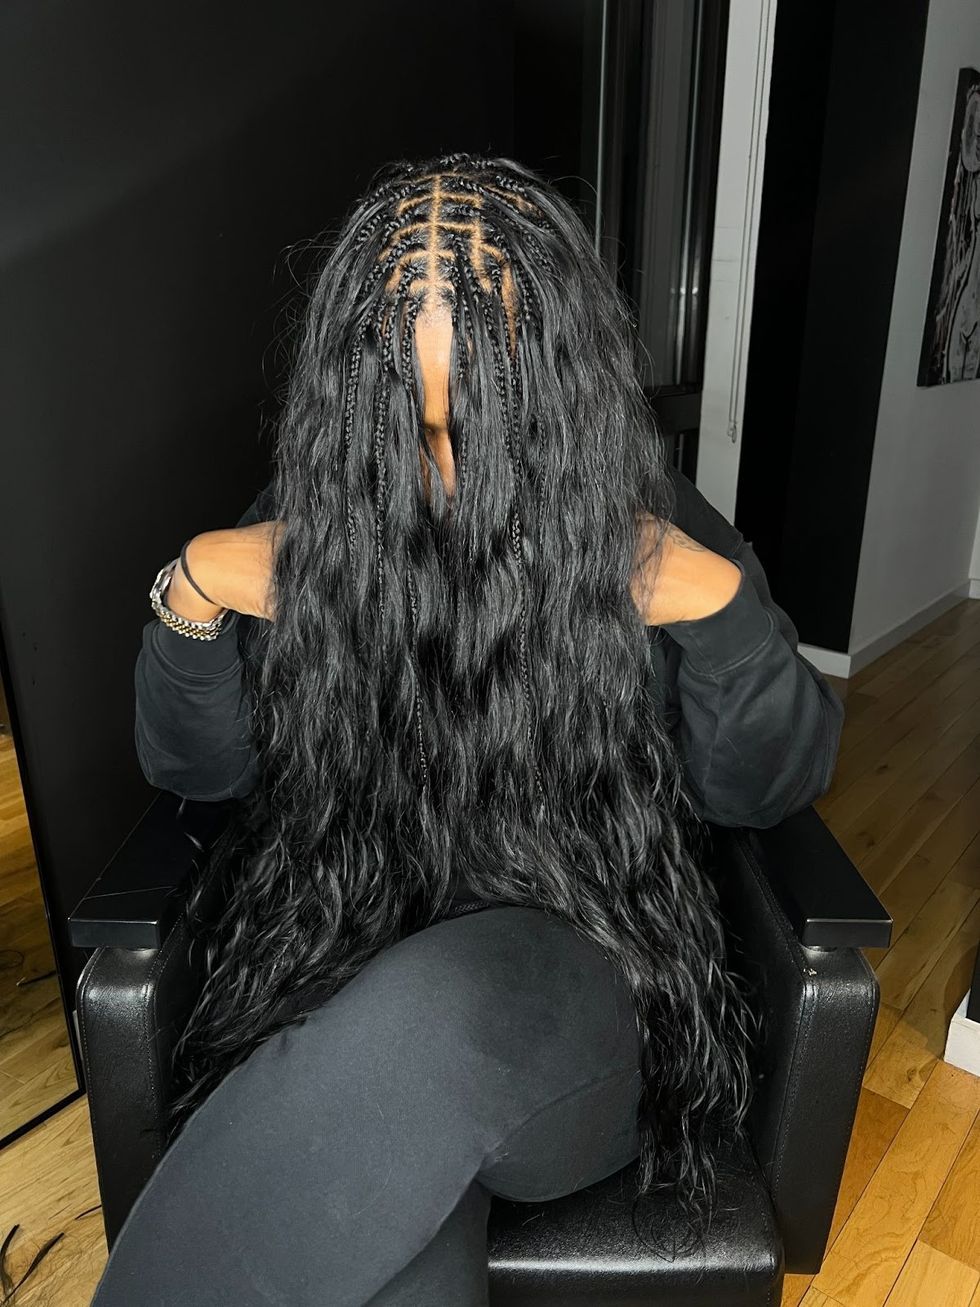
Zoë Kravitz 2.0 — Sew-in Method
The girlies are always coming up with new ways to make life easier and relieve tension on the crown. This time, they decided to sew bundles at the crown or center of the head to give the allusion of fullness. Of course, we had to ask a professional.
Syreta Finnigan founded KnotlessGang, a braiding business where her craft has transformed braiding into an art form. Finnigan tells us that her introduction to the new sew-in method stemmed from a desire to elevate her braiding skills after initial attempts at recreating the Zoë Kravitz braids that ended up looking more like traditional goddess braids.
“It was during this pursuit that I found the perfect video on TikTok, showcased by @miaseirah. Her execution aligned perfectly with my vision, inspiring me to adopt and refine the newfound sew-in approach,” the stylist said.
According to Finnigan, by securely tucking the hair away, this technique promotes accelerated and healthier hair growth, minimizing the need for frequent manipulation. “Moreover, it serves as an ideal protective style, affording individuals the flexibility to experiment with various hairstyles, akin to both sew-ins and braids, while ensuring optimal hair care and maintenance.”
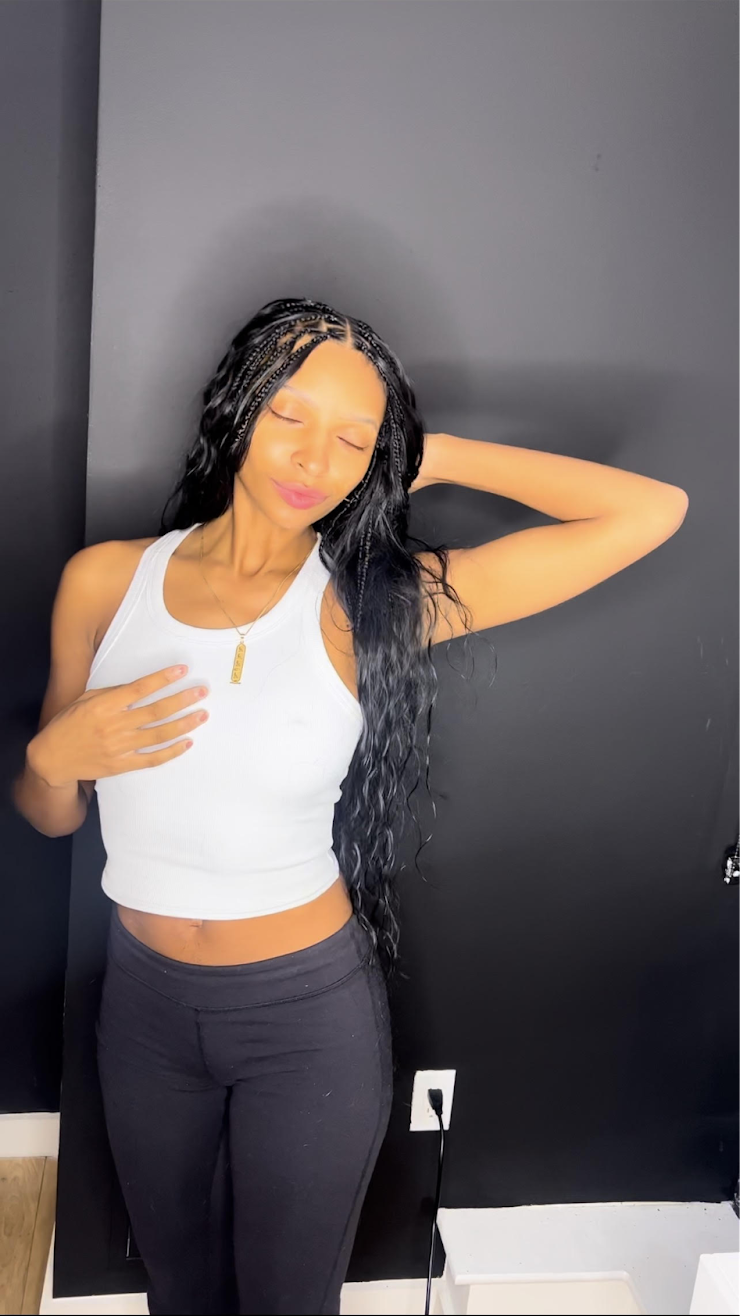
Here’s a Zoë Kravitz braids step-by-step tutorial from the Knotless Gang founder:
Step 1: Start by executing a traditional hybrid braid pattern. Personally, I opt for straight-back cornrows with a strategic leave-out at the crown. Making sure enough hair is left out during braiding guarantees seamless coverage of all tracks.
Step 2: Proceed with either the micro braids or the sew-in installation, I start with the sew-in. Utilizing a curved needle, thread through the weft and secure it to the initial braid at the back. Continue this pattern until reaching the crown, where the braiding process commences.
Step 3: Transition to the leave-out section, dividing it into sections for braiding. Begin with a center part and start your knotless micro braids. As the braids progress, incorporate sections of hair from the remaining bundles into the braids. There isn’t a definite point as to when to add the curly hair pieces. It depends on the overall look you are aiming for.
Step 4: Dip a towel into hot water and rub lightly at the top of your braids after the trimming process. Grab an edge control and lay your baby hairs for a sleek look and you are good to go.
Okay, we gave you all the tea. Now, it’s up to you to decide.
Let’s make things inbox official! Sign up for the xoNecole newsletter for love, wellness, career, and exclusive content delivered straight to your inbox.
Featured image by Kevin Winter/Getty Images