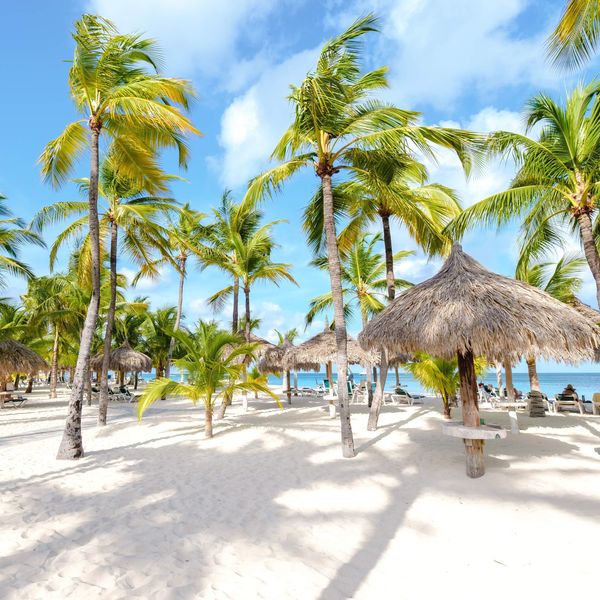
Life & Travel Why A Solo Trip To Aruba Was The Nervous System Reset I Needed This Winter Yasmine Jameelah
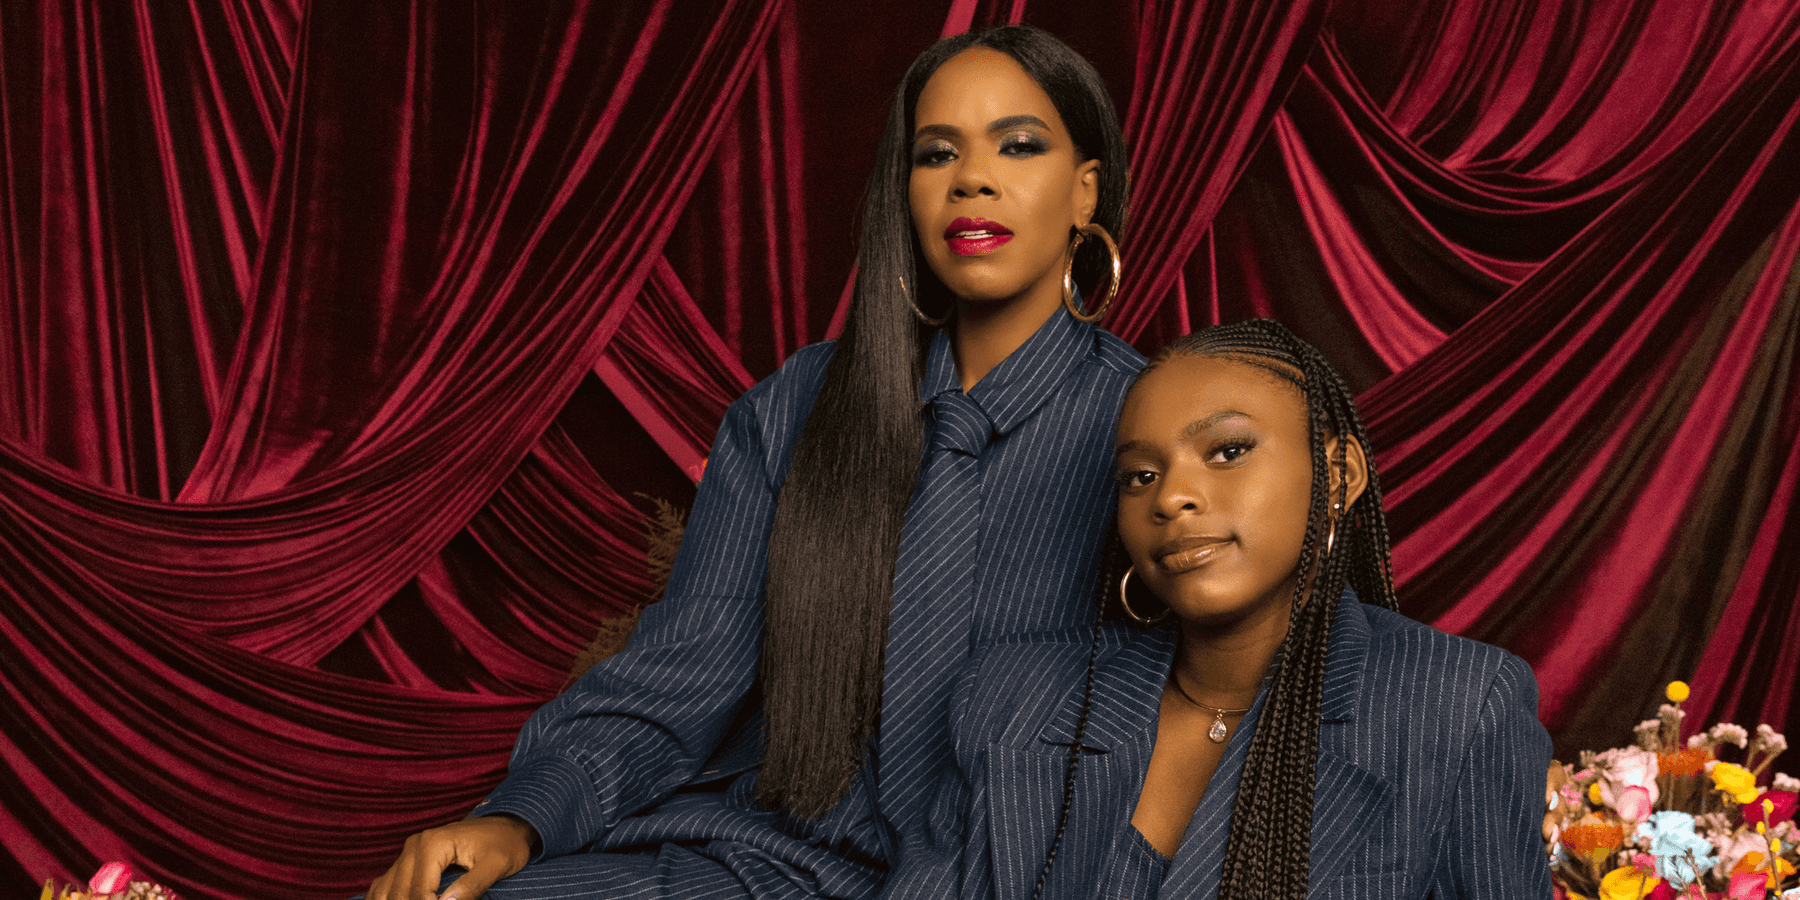
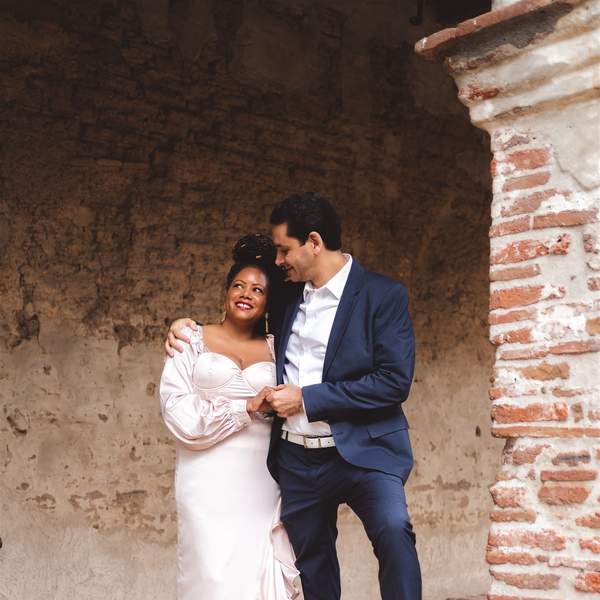
Love & Relationships This Couple Got A Second Chance At Love After A Six-Year Break & 10 Months Later, They Got Married London Alexaundria