My hair is not exempt. Boy, the more I am intentional about achieving some real hair length, the more research I like to do when it comes to giving my tresses exactly what they need — this includes what’s required from season to season.
That’s what this article is all about. With fall officially being a week away, I wanted to give you some time to get your hair and your coins ready to provide it just what it needs so that it can adjust nicely to cooler (and oftentimes wetter) weather.
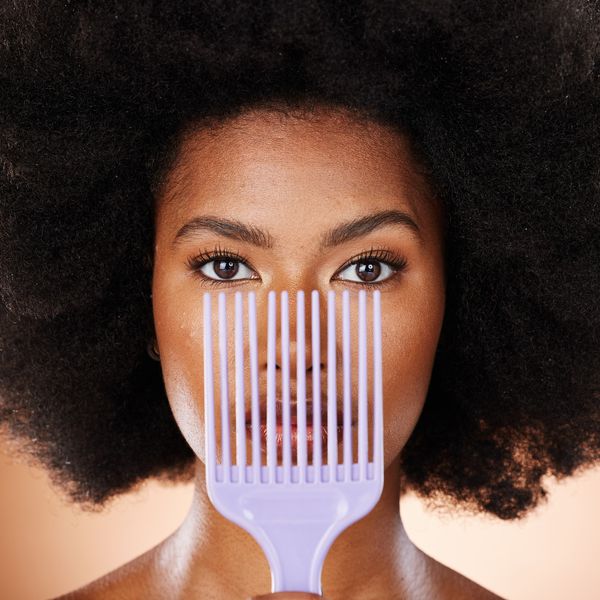
1. Comb
More than Brush

Getty Images
Although this one might sound a bit odd, hear me out. So long as you use the right kind of brush (a detangling one and/or a boar bristle brush), there are benefits that come with brushing your hair. Brushing helps stimulate your scalp and distribute natural oils to coat your hair strands, and brushing can get rid of natural hair strands that shed on a daily basis. However, the reason you might want to comb (or pick) more than brush during the fall season is because the semi-drastic shifts in temperature tend to create a jet stream that brings more wind and rain.
And when it’s damper outside, that can make your hair frizzier — and what can add to the frizz is brushing your locks because it separates each strand, which makes it easier for the cuticles on them to stand up and out (when hair isn’t frizzing up, the cuticles are smooth). Since the process of combing helps to keep your strands more “clumped together,” which can reduce frizz, it’s a hairstyling hack to keep in mind…if frizz is something that you want to avoid, that is.
2. Avoid
Hair Drying Products

Getty Images
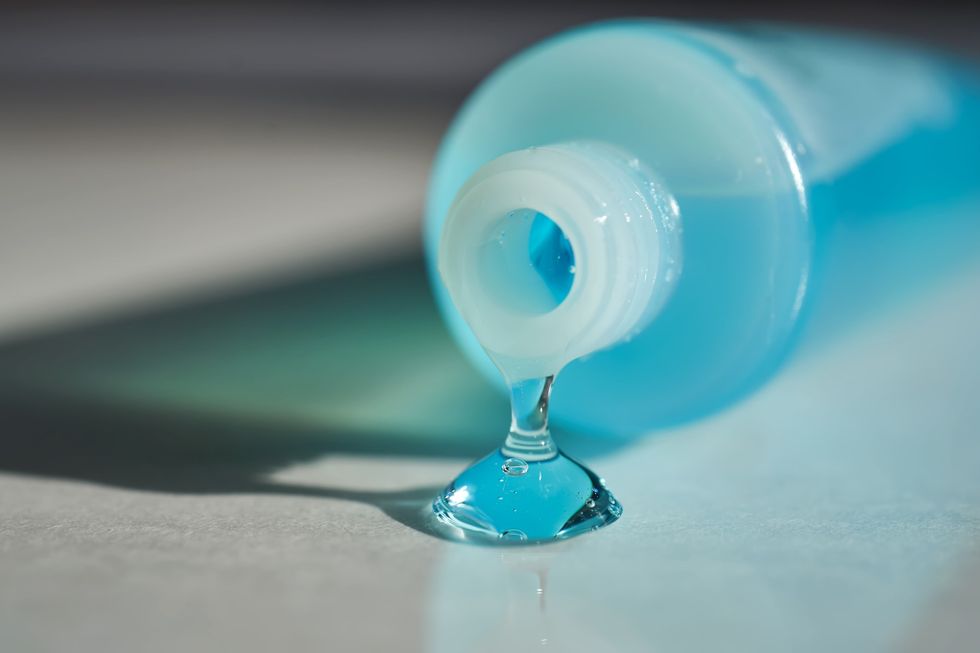
Speaking of controlling frizz, here’s another tip to keep in mind. Did you know that the main reason why frizz happens in the first place is because hair lacks moisture? Basically, the tiny “scales” that cover each strand, when there is no frizz, they lie down smoothly. Oh, but when there’s some frizzing going on, they stand all over the place. Since our hair is usually naturally drier anyway (because the sebum from our scalp has a harder time coating our strands from root to tip due to our curly hair texture), our hair frizzes up more than most. That’s why we have to be hypervigilant about keeping moisture in it.
And why is this relevant during the fall season? Well, if there’s more rain, this means that water evaporates into the air, and when the hydrogen bonds from the water connect with the protein in your hair, that can cause frizz, especially if/when your hair is already dry. That’s why it’s important to avoid hair products that have drying agents in them — ones like alcohol, sulfates, polyethylene glycol, ammonia (which is what’s in a lot of hair dyes), and dimethicone (a type of silicone) — for starters.
3. Apply
a Leave-In Conditioner

Getty Images
If you’re looking for a proactive way to keep moisture in your hair, you can never go wrong with a water-based leave-in conditioner. What I like about them is they’re a quick way to add some moisture and softening agents to my hair in between wash days (which is my deep conditioning day). The way that I apply it is I add a couple of dabs to my hair at night before I put my hair in 2-6 plaits (in order to keep my hair stretched without heat).
By morning, the leave-in is dry, so I can style my hair without worrying about whether the dampness from the leave-in will cause my hair to look curlier than I might want it to be. As far as some of the best leave-ins (for curly hair) that are currently on the market, you can check out a few recommendations here, here, and here.
4. Use Hair Masks and Hot Oil Treatments

Getty Images
To tell you the truth, hair masks are something that should be used year-round. That’s because they add hydration, smooth hair cuticles, help to prevent split ends, strengthen hair follicles, keep your scalp healthy, and make your hair soft to the touch. As far as hot oil treatments are concerned, they’re great at repairing hair damage, reducing frizz, adding shine to color-treated hair, soothing scalp irritation (including the kind that is the result of dandruff,) and also keeping split ends from getting out of hand.
When it comes to how often you should treat your hair to a mask or an oil treatment, my two cents would be to alternate wash days — meaning, one wash day, go with a hair mask, and on the next, use a hot oil treatment. You can get some solid tips for how to DIY a hair mask by watching the videos here and here and how to do your own hot oil treatment by watching the video here and here.
5. Try
Color-Depositing Shampoos and Conditioners

Getty Images
If you’re someone who likes to play with hair color, I definitely think that the fall is better than the summer to do it; that’s because the summer season brings a lot of heat that can dry out your hair, which can result in serious damage to dyed strands. Since the fall season is cooler, current trending colors like chestnut brown, wine, and bold highlights can have your hair looking amazing without compromising its health (quite as much).
If you want to keep your color lasting longer so that you don’t have to retouch it (and dry your hair out anyway) quite so often, invest in some color-depositing shampoos and conditioners. They’re basically semi-permanent hair products that will serve as a “top coat of color” for your hair for 10-15 wash days.
I’ve tried them before and, especially the conditioners, have done wonders as far as adding depth and shine to my hair without compromising its health. Cosmo has some shampoo recommendations here. Byrdie has some conditioner recommendations here.
6. Put
Shampoo in Your Hair Dye
Getty Images
I wish I could remember where I learned this hack from, but just trust me when I say that it’s a TOTAL game-changer. It can’t be said enough that one of the biggest misconceptions that a lot of us have when it comes to our hair is that Black hair doesn’t grow long. The hell you say. Although genetics do somewhat play a role (for sure), the reality is a lot of us don’t see inches because our hair breaks off as fast as it grows — and that’s because we don’t take care of our ends as well as we should.
Case in point, since our ends are the oldest parts of our hair, if you plan on coloring your hair (especially if you’re about to retouch your color), your ends need to be color-treated the least — one, because they are already fragile and two, because they already have some color on them (if you’re coloring for the first time).
That said, one way to give your ends a ”once over” of color (for added depth) while damaging them as little as possible is to put some shampoo in your hair dye once you’ve already colored the rest of your hair. As you’re preparing to rinse the dye out, use that shampoo to penetrate your ends for about five minutes before thoroughly washing your hair without shampoo that has no dye in it (make sure that it’s sulfate-free).
Your ends will get a coat of color, and you won’t have to worry about stripping them of the natural oils that they need to keep from breaking off. Brilliant.
7. Don’t
Forget the Thermal Heat Protectant

Getty Images
Hands down, I think the best time of year to get some longevity out of a blowout is the fall season. That’s because, since it’s cooler outside, that means less sweating, which means your strands are able to stay stretched out for longer periods of time. Now, this doesn’t mean that you should just go ham with your blow dryer and flat iron on a daily basis — but you should be able to pull off a few blowouts before Christmas without any hair damage…so long as you deep condition your hair and apply a thermal heat protectant before applying any heat.
Although some come in sprays and others in creams, my recommendation is “Option B” because it tends to coat our hair better. You can check out a few options to go with here. And as far as how to create the perfect blowout on natural hair, some YouTubers can walk you through it step-by-step. Check out this one (here), this one (here), this one (here), this one (here) and this one (here).
8. Get Some Hair Serum
Getty Images
Even though I did say earlier that a type of silicone can dry out your hair, that doesn’t make every silicone on the planet the devil. The reality is that serums, which are made from silicones, can be beneficial when it comes to extending the dye in your hair, preventing heat damage, increasing hair elasticity, detangling your hair, and definitely adding some major sheen and shine to it. That’s why you can never go wrong with hair serum being the “final touch” to your blowouts.
InStyle has some of their top serum picks here. Some keys to making hair serum work best for you are to take the “less is more” approach, to warm it up a bit beforehand (to keep it from going on so thick), and to not go more than ten days without washing your hair if you’ve applied the serum more than a couple of times; otherwise, you run the risk of dryness and breakage, if you’re not careful.
9. Oil
Your Ends
Getty Images
Wool. Flannel. Corduroy. Hemp. Microfleece. Something that all of these fabrics have in common is they help to keep us warm. Problem is, that they can be really drying (and snag-inducing) when it comes to the ends of your hair. That’s why it’s a really good idea to be intentional about oiling the ends of your hair on the days when you know that they are going to be out.
Grapeseed, avocado, jojoba, sweet almond, and rosehip oil are all potent enough to keep your hair moisturized while being light enough to not weigh your hair strands down. Or you can use a hair oil blend. Although I personally don’t have locs, there is an Etsy store called The Loc Shop NYC that carries some oil combos that I’m a huge fan of — they penetrate my hair for days on end, and the scents are amazing. You can check ‘em out here.
By the way, some gentler fabrics that can also warm you up as they are kinder to your locks include cashmere, cotton, polyester, and, believe it or not, silk.
10. Invest in More Hats
Getty Images
Hats are my jam — everyone who knows me knows it. They’re great for bad hair days. They are awesome fashion accessories. And they can keep your head warm on the coolest of days in the coldest way possible (see what I did there?). That’s why you couldn’t tell me a damn thing when my new, large, gray Fedora came in the mail last week. After doing some internet skimming, it looks like bucket hats, newsboy hats, baseball caps, beanies, and berets are gonna be all the rage this fall season. Hmph. Betta get you some. Hats can shave off 15-20 minutes of your morning-get-ready routine. EASILY.
BONUS: Get a New Umbrella
Getty Images
Many days have started out a good hair day and then turned into an epic fail because either someone forgot their umbrella or the one they have is so old and tattered that it didn’t do them much good anyway. For this very reason, not too long ago, I copped myself one of those clear bubble umbrellas, and my hair couldn’t be more thrilled! As a bonus, not only does it keep my hair perfectly dry, but it also covers enough of my body that I can enjoy outdoor events in drizzling weather without getting the top half of my clothes wet, too. It’s the truest must-have fall accessory, no doubt about it.
____
There you have it: ten things that can get — and keep — your hair right this coming fall.
Don’t say a sistah wasn’t looking out. #wink
Let’s make things inbox official! Sign up for the xoNecole newsletter for daily love, wellness, career, and exclusive content delivered straight to your inbox.
Featured Image by CoffeeAndMilk/Getty Images