


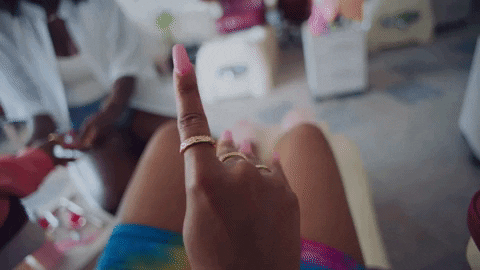
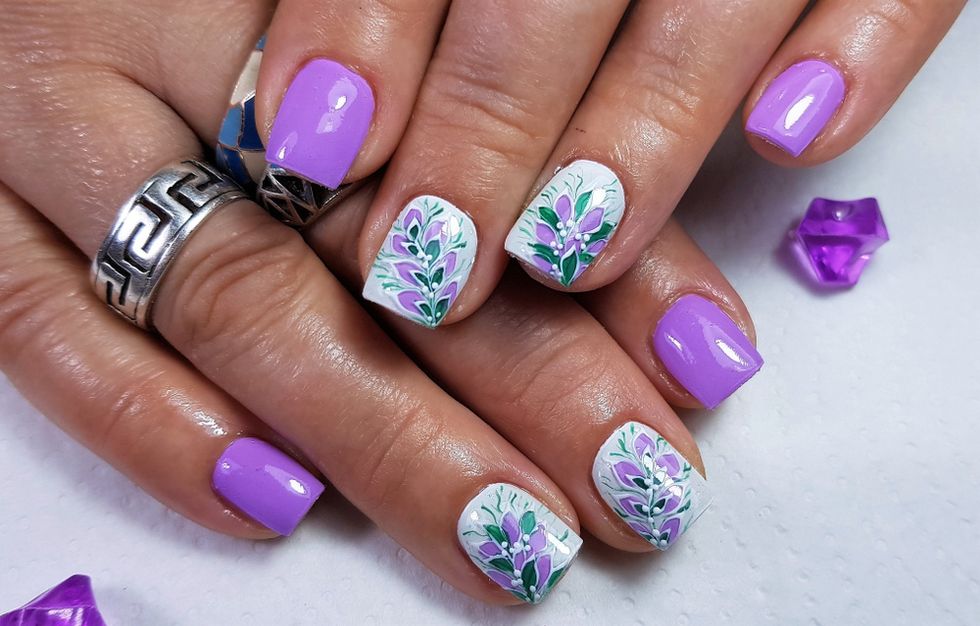
Recently, I had to do something that damn near broke my heart. See, for the past couple of years, I've been someone who went to see my nail tech religiously so that I could take care of something that I got from my mother and my mother's mother. It's something that is actually one of my favorite features—my hands, including my nails. They are long, they've got a dope curve to them and, I am definitely the kind of chick who likes to rock all kinds of random color and design combos. But between this quarantine that we're all currently in and also reading the article, "Are your nails too long? A doctor explains why trimming them and removing chipped polish may help prevent the spread of coronavirus" (le sigh), I decided that it was time to bite the bullet and take my powder acrylic and gel polish off. Ugh.
Only those who have mani/pedis on their self-pampering list can truly get that, while there are certainly a billion more important things to be concerned about, that doesn't take away from the fact that not being able to get our nails done can be a real punch in the gut. It's not about being vain or frivolous; it's about making a point to do something that is just for us that makes us feel good. And, if you're used to going bi-weekly to the nail salon like I am, it's about adjusting to this new normal until…who knows when?
If you totally feel my pain and either you're well past a fill-in or your nails look straight crazy right now and you're not sure what to do about it, I've got some DIY tips that can help to get you through—until you and your own nail tech can be reunited once again.
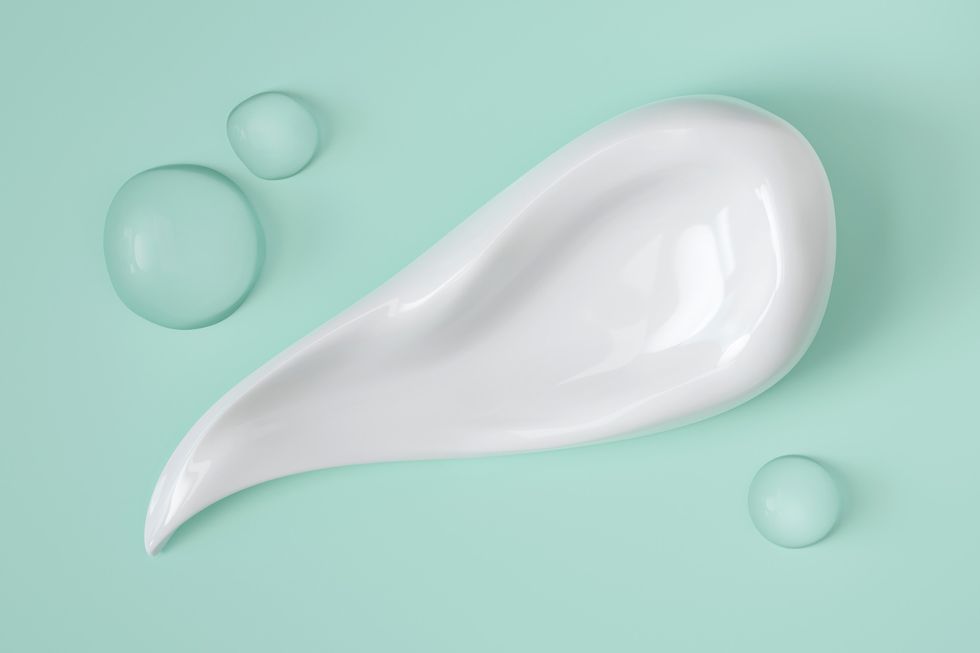
How to Safely Remove Gel (and Acrylic and Powder-Dipped) Nails
It actually took me a while to get onto the gel manicure train. The main reason is, I didn't want to spend the extra coins. But between constantly hacking away on this laptop of mine, washing dishes and, quite frankly, simply being harder on my nails than I need to be, about a year ago, I gave up the ghost; it's one of the best decisions I've ever made. The only thing I don't like is that sometimes, removing the polish can be a beast (some drills are better than others). So, I was kinda trippin' at first when I tried to figure out how to get the polish from my last salon appointment off of my nails.
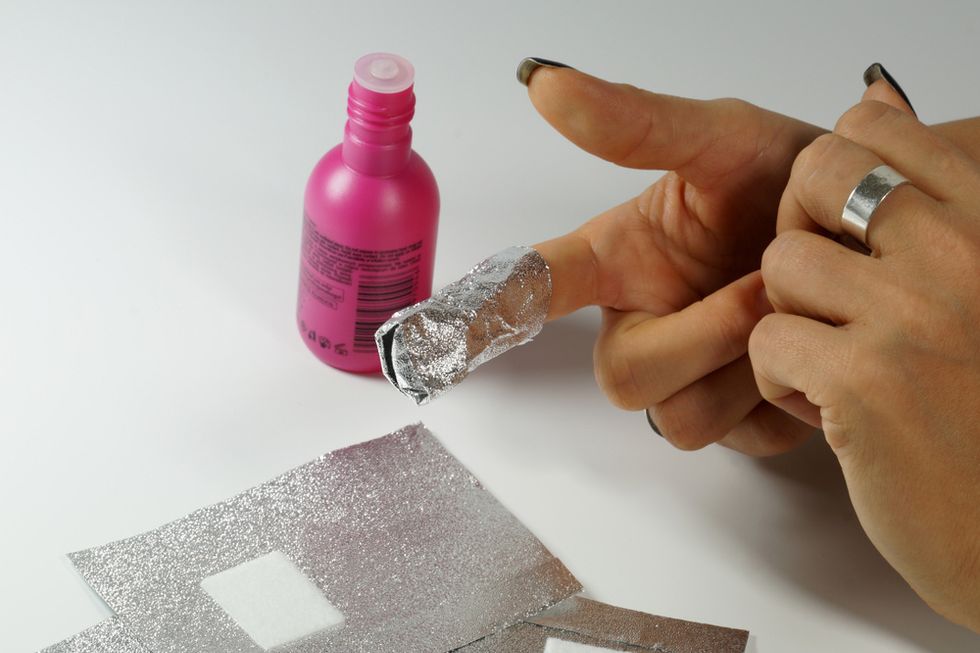
If that's your current dilemma, all you need is a bottle of 100 percent acetone (something that also works really well for me is ONYX Professional Gel and All Nail Coatings Soak Off Nail Polish Remover Coconut which I got at Walmart), a file (a 180-grit file is probably best), some cotton balls, a glass bowl and some foil.
If you're going to cut down your nails, do that with a pair of fingernail clippers first. Then, in order to remove the top coat of your gel polish, file all of your nails until the polish looks super dull. Cut a piece of foil into 10 strips (one to cover each nail). Now it's time to pour the acetone into your glass bowl and to pull out your cotton balls. I recommend cutting each cotton ball in half; that way, they won't be all bulky when you place them onto your nails. Put half a ball into the acetone first and then on each nail. Then cover the ball up with some foil. Let the foil sit on your nails for 15-20 minutes. When you remove each strip, you should notice that your gel crumbles right off. And what if you happen to have powder dipped nails? The same steps apply. Just make sure that you follow-up the removal process with some nail cuticle oil or jojoba, sweet almond, lavender, coconut or tea tree oil (every day, for about a week) so that your nails won't get dehydrated.
Note: If you plan on removing all of your acrylic too, follow the same steps. Just keep in mind that, based on how many fill-ins that you've had, getting the acrylic off will take considerably longer. Shoot, I re-watched the movie,How to Tell You're a Douchebag (DeWanda Wise, Charles Brice) and some other film before most of it was gone. Plus, I had to use an e-file in order to get the remnants off. But the patience is what prevents you from damaging your natural nails. Besides, during this quarantine, it's not like you've got anywhere to go…right? Might as well get some binge-watching in while you're soaking.
How to Give Yourself a Gel Manicure
Now that I have nothing on my nails (and they are considerably shorter), I'm actually going to let them chill for a while. I can't remember the last time my nails haven't been covered in something and sometimes breaks are good so that nails can breathe. But if you want to keep the gel polish going in your own world, I totally get it. Here are the steps that you need to follow. (By the way, remember that you'll need a cure lamp for this; there are some pretty affordable ones on the market if you don't own one already; click here to check out a selection.)
- Clip your nails to the length that you want them to be.
- With a fingernail file, file them into the shape that you desire so that they are smooth and even.
- Use a buffer to remove any natural oils that may be on the top of your nails (so that your polish will "stick" better).
- Use a cuticle stick to gently push back your cuticles.
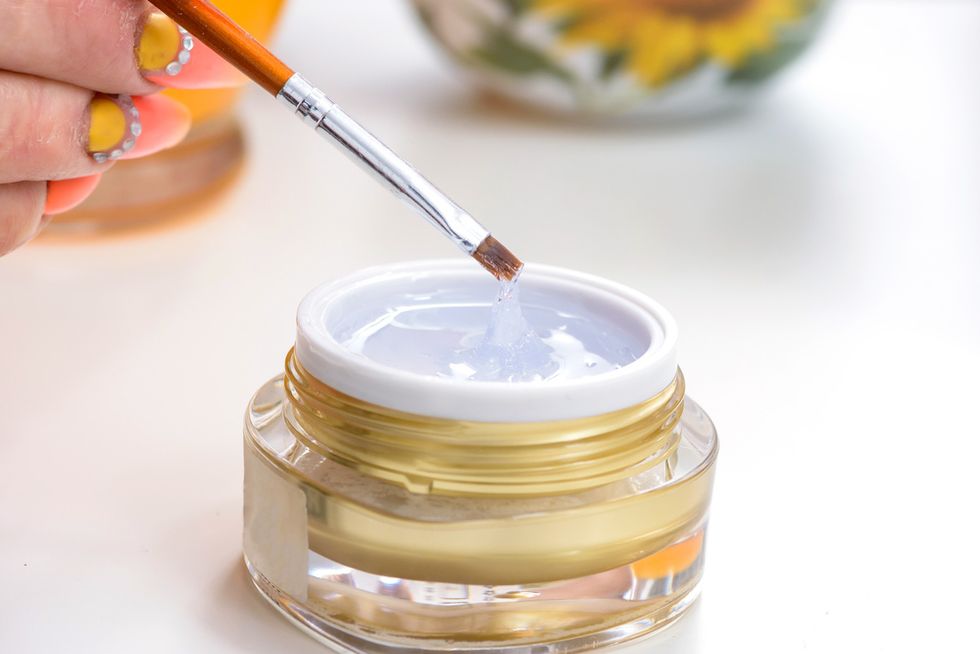
- With your gel kit (check out "Love Gel Manicures but Hate the Price? Try These At-Home Gel Nail Kits" if you want some suggestions on which one to buy), apply an extremely thin layer of the base coat on one hand. Put it underneath a cure light for 20 minutes, then repeat with your other hand.
- Next, apply your first coat of gel polish to one hand. If you happen to get any of the polish onto your skin, dip a nail acrylic brush into some acetone to remove it. If you skip this step and the polish remains on your cuticles, your polish will peel a whole lot faster. Place your hand into your cure lamp for another two minutes, making sure to do this same step for every layer of polish that you apply.
- Apply your top coat and let your hand sit in the cure lamp for 2-2 ½ minutes. Lightly tap the index finger of your other hand onto a couple of your polished fingers, just to make sure that they don't feel sticky and the polish appears smooth. If you don't feel "messiness", you're dry.
- Finally, soak a cotton ball into some rubbing alcohol and rub each nail; it's what will get rid of any "tackiness" or residue that your nails may have. And you're done!
If you are someone who is more of a visual learner, some YouTube sistahs can walk you through this entire process. Check out some how-tos here, here and here. If you'd prefer to powder dip your nails instead, this video has some tips that I thought were super helpful.
How to Do Your Own Acrylic Fill-In
Yeah, this one right here, I don't have nearly enough patience to attempt on my own. But again, right now, we've really got nothing but time, so if you're down to do your own fill-in, I'll include a list of what you'll need, along with a couple of links to YouTubers who can walk you through how to do fill-in your own nails.
- Cuticle Remover
- Cuticle Pusher
- Buffing Block
- Acid-Free Primer
- Nail Dehydrator
- Dappen Dish
- Acrylic Brush
- Acrylic Powder
- Acrylic Liquid
- Top Coat
You can also stop by a local drugstore to pick up a fill-in kit like Kiss Her by Kiss Acrylic Fill Kit for Nails. Here's the video that can walk you through how to DIY this.
How to Make Press-On Nails Last
I'mma tell y'all what—these upgrades in press-on nails truly boggle the mind! One place where you can check out a variety of lengths, shapes and styles is Etsy. If you want yours to last longer than just a couple of days, make sure to apply them with nail glue (a lot of people are super fond of Mia Secret Super-Jet Strong Glue) instead of the adhesives that they typically come with. Speaking of, a YouTuber that I enjoy due to her straight-to-the-point-super-chill delivery says that using that particular glue helps your press-ons to last a whopping three weeks at a time. Her name is Korryn J and she even has her own line of press-on nails. Go here to check out her instructional video and visit Her Fave Boutique to see her signature nail section.
How to Maintain Natural Nails
Even if you decide to go without doing any of this for the time being, that doesn't mean that your nails have to be out here looking a hot and crazy mess. Here are a few things that you can do to keep your natural nails looking beautiful while you're at your crib.
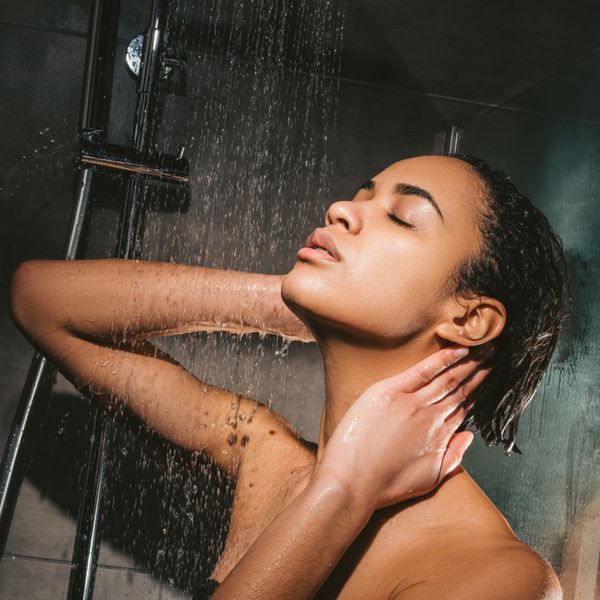
Exfoliate your hands. Dead skin cells can have your hands looking drier and older than they should. A half cup of sugar (brown or white), one-fourth cup of olive oil, and five drops of your favorite essential oil will create a hand scrub that will make your hands feel and look at least a couple of years younger (no joke). Using the scrub while you're in the shower is one of the easiest ways to apply and remove it with as little mess as possible.
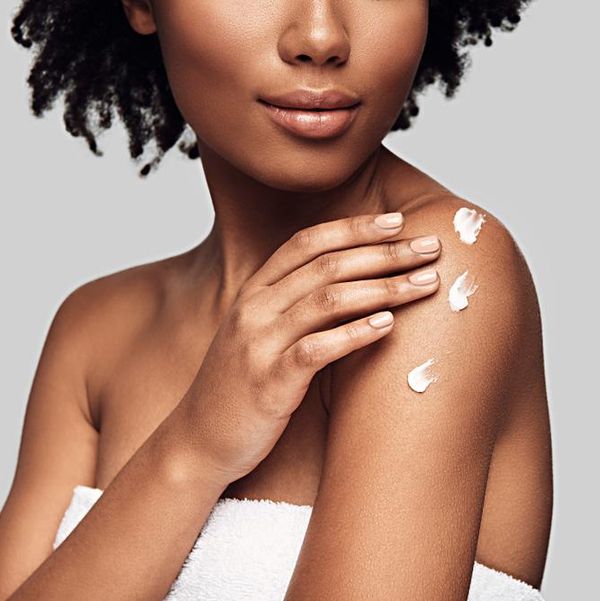
Moisturize your hands, nails and cuticles. Please don't be walking around your house all ashy. Remember the cuticle oil alternatives that I mentioned earlier? Apply those on a daily basis so that your hands, nails and cuticles can remain soft and smooth.
Keep your natural nail tips clean with baking soda. Do you want to rock the totally au naturale look? If so, something that will keep the tips of your nails super white is to brush them with baking soda. Just dip them into water, sprinkle some baking soda on an old toothbrush and gently scrub underneath each nail. It will get all of the gunk out while lifting your nails up a shade or two (once a week is more than enough; otherwise, you could dry your nails out).
Vicks to the rescue for (minor) nail fungus. If after you remove your polish or tips, you happen to notice some fungus, applying Vicks VapoRub will help to heal it within a matter of days. (Oregano oil and tea tree oil will too.)
Petroleum jelly can help you to "stay between the lines". Does it seem like, no matter how hard you try, you always seem to get polish on your cuticles (and everywhere else) when you polish them yourself? One way to avoid this is to dip a Q-tip into some petroleum jelly and outline your cuticles with it before applying your nail polish. That way, the polish will not get onto your actual skin.
Vinegar makes your polish last longer. If the last thing you want to think about is painting your nails again any time soon, pour some white vinegar onto a couple of cotton balls and apply them to your nails before you put on your base coat. It will remove any oils or residue, plus it will help your polish to last longer.
(Another hack: If your polish seems to have a hard time going on smoothly, try putting it into the refrigerator for 15-20 minutes. That should fix the problem.)
Ice alleviates chipping polish. One reason why I don't personally polish my fingernails often is because I am super meticulous. If I see a mere chip of polish on a nail, I'm over-obsessing. If you can totally relate, but you want to paint your nails anyway, soaking your hands into a tub of water that has several ice cubes, after you've painted your nails, will help to set the color and prevent chipping. Just make sure to let your nails dry on their own for about seven minutes before placing them in the water (making sure not to hit the ice cubes).
Whew. I know I didn't cover everything but hopefully, this will tide you over. At the very least, you don't have to hold onto polish or fill-ins until…who knows when? You now have a few hacks that can make your nails look presentable. No need to thank me. We're all in this together. I got you, sis.
Want more stories like this? Sign up for our newsletter here and check out the related reads below:
These Are The Manicures We Can't Stop Fawning Over
This Nail Trend Is Perfect For The Woman Who Can Never Pick A Nail Color
Cloud Nails Are Seriously Your Next Dreamy Mani Trend
Building My Vegan Nail Empire Taught Me The Power Of My Wildest Dreams
Featured image by Giphy
- How to Remove Acrylic Nails at Home - PureWow ›
- How to Remove Acrylic Nails at Home, According to a Pro ... ›
- How To Remove Acrylic Nails At Home - Acrylic Nail Removal ... ›
- How to remove acrylic nails at home without damage. ›
- How to Remove Acrylic Nails At Home (With & Without Acetone) ›
- How to Remove Acrylics - Fast and Easy! - YouTube ›
- How to Remove Acrylic Nails at Home - L'Oréal Paris ›
- Remove Acrylic Nails At Home: Step By Step How-To Tutorial ... ›
- How to Remove Acrylic Nails ›
- How to Remove Acrylic Nails at Home Without Damaging Your Nails ... ›
RELATED


VIEW THE FULL ITGIRL 100 LIST HERE.
Don’t forget to also check out the ItGirl Directory, featuring 50 Black-woman-owned marketing and branding agencies, photographers and videographers, publicists, and more.
THE ITGIRL MEMO

I. An ItGirl puts on for her city and masters her self-worth through purpose.
II. An ItGirl celebrates all the things that make her unique.
III. An ItGirl empowers others to become the best versions of themselves.
IV. An ItGirl leads by example, inspiring others through her actions and integrity.
V. An ItGirl paves the way for authenticity and diversity in all aspects of life.
VI. An ItGirl uses the power of her voice to advocate for positive change in the world.
Let’s make things inbox official! Sign up for the xoNecole newsletter for daily love, wellness, career, and exclusive content delivered straight to your inbox.

Honestly, that’s why a lot of skincare products are marketed as being “anti-aging”; it’s their gentle way of saying skin that is perimenopausal or menopausal. In fact, I actually read that during the first five years of menopause, it’s pretty common to lose as much as 30 percent of the collagen that’s in your system (check out “We Lose Collagen As We Age. 10 Ways To Naturally Boost It.”). And since collagen plays such a significant role in your skin retaining moisture, having elasticity, and avoiding the fine lines and wrinkles that most of us would prefer to put off for as long as we possibly can, it’s important to do what can be done, even now, to keep a youthful and radiant glow.
So, let’s get into it. Because there is indeed such a thing as menopause skincare (the anti-aging industry brings in literally billions of dollars every year because of it), I want to share 12 things that you can proactively do to care for your own skin: whether you’re in perimenopause, menopause, post-menopause or just…curious.
1. Eat More Phytoestrogens

Getty Images
Okay, so since you lose quite a bit of estrogen during menopause, if you don’t want your skin to look like you did, you should consider consuming some phytoestrogens. Those are foods like dried fruits, garlic, plums, pears, apples, onions, and collards that come from plant-based estrogen. Since phytoestrogens are able to do everything from bring more hydration into your skin to boost your collagen levels, if you want to “push pause” on the aging process of your skin from the inside out, eating phytoestrogens is certainly one way to do it.
2. Also, Consume More Collagen-Enriched Foods

Getty Images
We already touched on what collagen is able to do, which is why it’s a good idea to eat foods that are rich in this particular structural protein as well. Chicken, broccoli, bone broth, berries, cashews, egg whites, and citrus fruit can get you right in this department. Know what else can? Green tea.
3. Enjoy Some Dark Chocolate
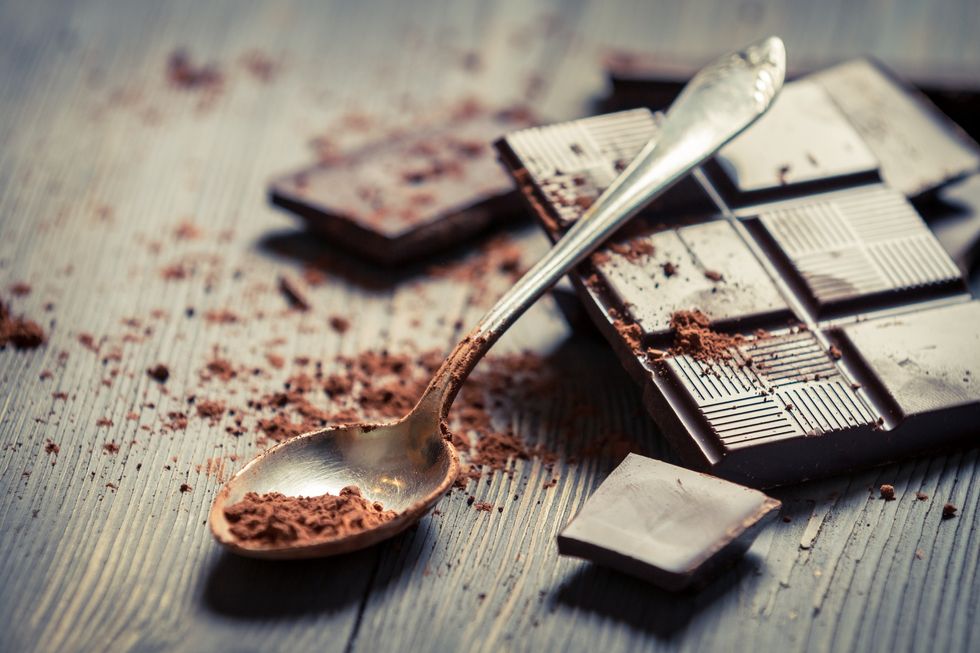
Getty Images
Women who are postmenopausal should consume dark chocolate on a consistent basis because it helps with their heart health. Something else that research reveals is dark chocolate is great when it comes to boosting cognitive function (which can also decline during menopause when it comes to your memory). Your skin could use dark chocolate because it increases blood circulation to it. Also, dark chocolate can protect your skin from damaging UV rays. And since dark chocolate helps to reduce stress, that is just one more reason to snack on it — and perhaps why you should consider applying a dark chocolate face mask a couple of times a month, too (you can check out some more info via StyleCraze on all of that here).
By the way, it should go on record that the key is not to pick up a Hershey’s bar on your way home. You need to eat the kind of dark chocolate that contains no less than 65-70 percent cocoa. Yep, the less sweet and more chalk-like it tastes, the better (just sayin’).
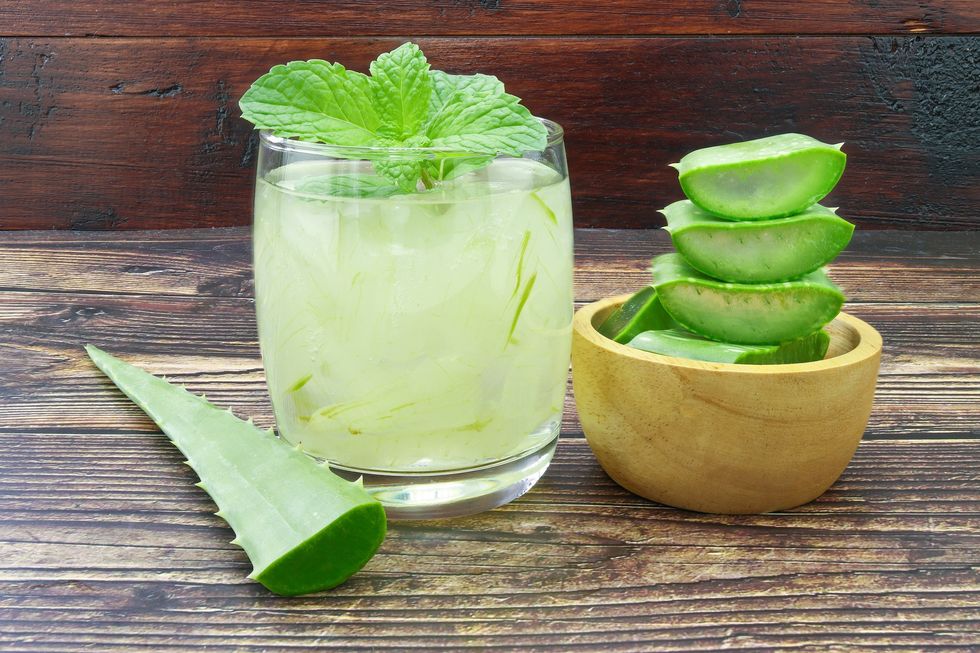
4. Put Aloe Vera Juice in Your Drinks
Getty Images
The antibacterial, antioxidant, and anti-inflammatory properties in (pure) aloe vera juice can do wonders for your system. Not only is it full of antioxidants and vitamin C, but aloe vera juice can also help to improve digestion, regulate your blood sugar levels, improve your oral health, soothe heartburn, and keep your vision healthy and strong. As far as your skin goes, aloe vera juice will definitely help it to maintain a proper level of moisture. As a bonus, it can also help to increase collagen production and improve elasticity in your skin.
Oh, if the thought of drinking aloe vera juice straight makes you slightly want to throw up in your mouth, take it from me that if you put a tablespoon in your juice or smoothie, you will hardly even notice that it’s there.
5. Up Your Water Intake

Getty Images
Our bodies are made up of mostly water; so, of course, we need it. How much? For regular maintenance purposes, many health experts say that we, as women, can benefit from nine cups a day. If you want to shed a few pounds, 1-2 liters are recommended. And when it comes to dealing with menopause, in general, and avoiding dry skin that comes from it, at least do the bare minimum (although adding a couple of glasses of water to that would be ideal). The bottom line here is hydrate, hydrate, HYDRATE. If you want to get a leg up on menopausal skin, that’s gonna be how you do it best.
6. Take a Probiotic

Getty Images
You’re gonna be hard-pressed to read something on gut health and not see a probiotic mentioned (check out “80% Of Your Immunity Is In Your Gut. Take Care Of It Like This.”). That’s because there is plenty of data out here to support that taking a probiotic can do wonders for keeping your intestinal health in great condition. Your skin will thrive off of a probiotic because, not only is it proven to decrease the amount of water that your skin loses, but it also helps to improve the quality of your skin too.
7. “Seal Your Skin” with Marula Oil

Getty Images
If you want your skin to look as young as it possibly can, it’s always a good idea to look for products that contain a lot of antioxidants, essential fatty acids, and amino acids; one of those is marula oil (which is an oil that comes from marula fruit). In fact, one of the reasons why it gets a shout-out here is a lot of skincare experts recommend that you use it to “seal in moisture.” And since that is a great way to keep water in your skin (for longer) after taking a shower or bath, if you’re looking for the perfect oil to keep your skin feeling super soft and hydrated, hours after washing up, marula oil is one to keep in mind (plum oil is pretty bomb too, by the way).
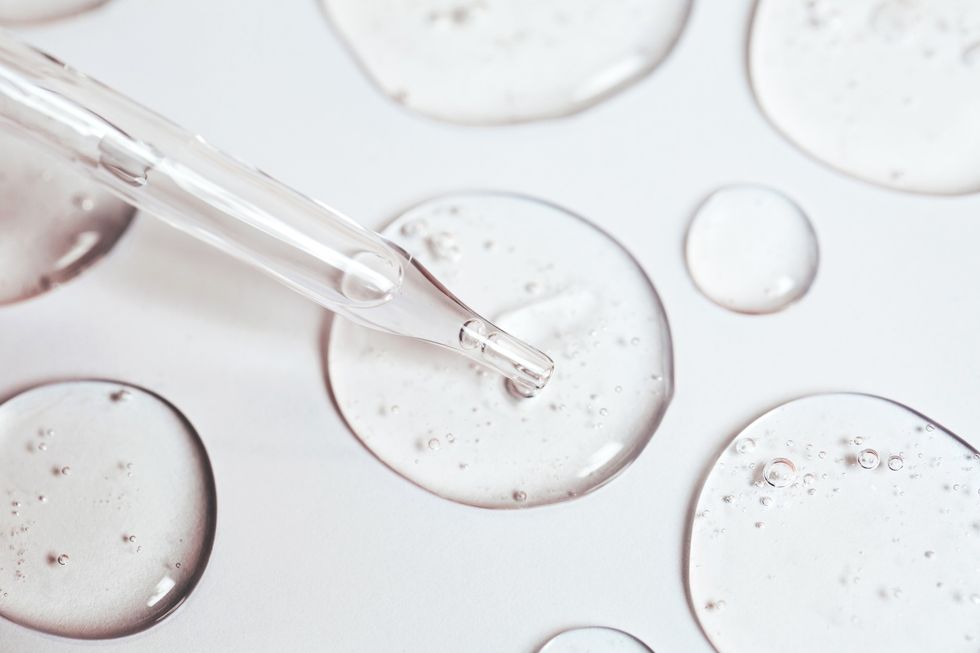
8. Hyaluronic Acid Is Your Friend
Getty Images
Over the past several months, something that I’ve been becoming more and more of a fan of is hyaluronic acid (check out “Why Your Skin, Hair, And Nails Need Hyaluronic Acid Like...Yesterday”). As far as menopause goes, it can actually help to naturally treat vaginal atrophy in postmenopausal women. Also, when it comes to your skin, since it actually has the ability to make it more flexible — well, that can make fine lines and wrinkles less of a visible issue.
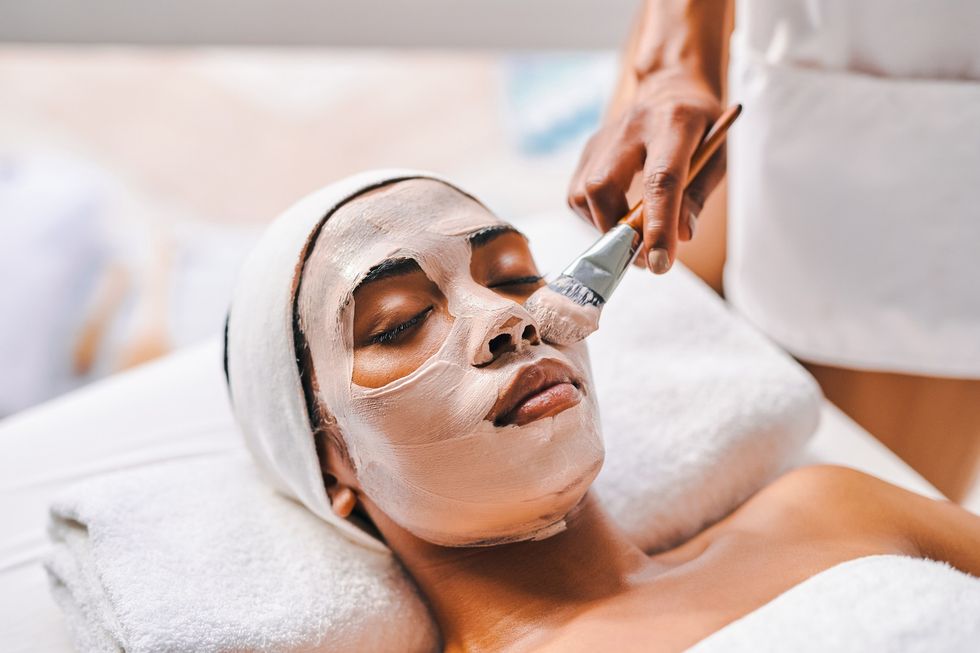
9. Do Chemical Peels
Getty Images
Last fall, I wrote an article for the platform entitled, “I've Been Doing At-Home Chemical Peels. Here Are The Pros And Cons.” I did it because, ever since I started doing chemical peels, I’ve started to see a nice shift in both the appearance as well as the texture of my skin. Anyway, since fine lines and acne are two things that oftentimes come with menopausal skin (more on pimples in a bit), and that is just what chemical peels help to treat, applying them on a consistent basis could be a wise move. You can get a potent chemical peel from a skin professional, or you can do what I do and go the lighter route at home. I’ve had no regrets (other than not fully following the directions and getting a mild chemical burn on my face once in the beginning) since doing so.
10. Try CeraVe (No Joke)
Getty Images
I can’t remember the last time that I watched television, and a doggone CeraVe commercial didn't come on at some point. Personally, I’ve never used any of the products before — I might consider it now, though. Apparently, “the ceramides in CeraVe” are exactly what our skin is longing for during perimenopause and menopause. Long story short, ceramides are the fats that are in our skin cells; they actually make up around 30-40 percent of the outer layers of our skin. And since you not only lose quite a bit of ceramides during menopause, their structure tends to change too — next time you’re at the store, picking up a CeraVe moisturizer certainly couldn’t hurt.
11. Do Research on “Menopausal Acne”
Getty Images
It’s like it never ends. Lawd. Okay, so why in the world, would we as grown-ass women, end up with acne? The bottom line here is just like hormonal fluctuations can trigger breakouts in teenagers, pretty much the same thing can happen to us during perimenopause and menopause. From what I’ve read and researched, as far as how to treat it, you can do similar things that you did as an adolescent (if acne was an issue), including applying benzoyl peroxide and topical retinoids. Although, if you’ve never been to a dermatologist before, this may be the time to do it. They may be able to customize a skincare regimen that can make getting through this season of acne a lot easier for you.
12. Don’t Forget About Sunscreen
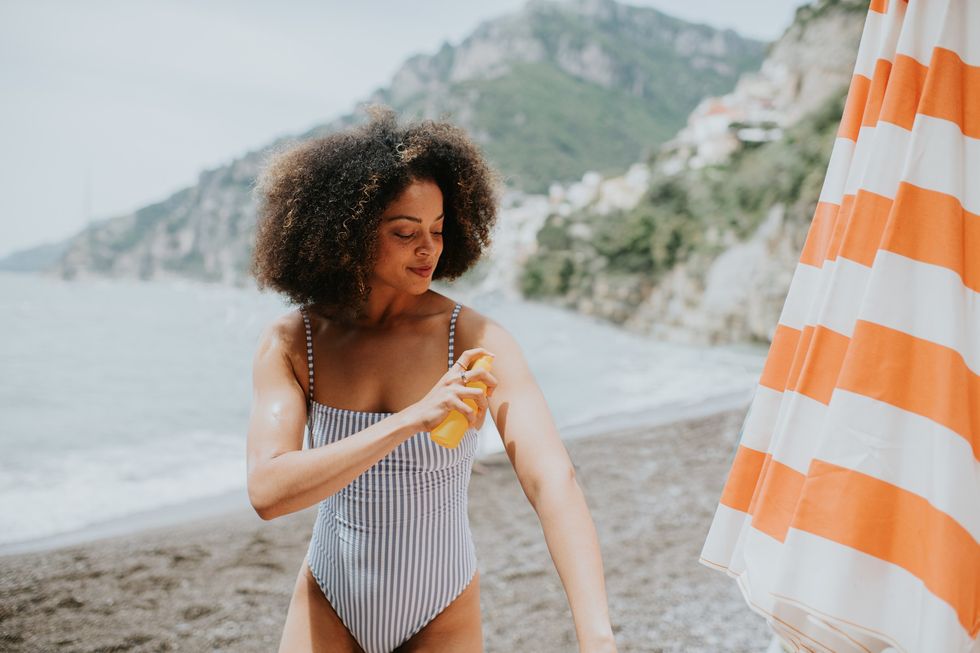
Getty Images
Even though we’re more melanated than any other demographic (and I love that for us!), it is ridiculous to think that skin cancer cares about that. Know what else some of us need to let go of? The belief is that we only need protection from the sun during the summer months. Listen, so long as the sun is shining, rays are beaming, and they can ultimately damage our skin (even in the wintertime). And since menopause makes skin thinner, which ultimately means that it’s more vulnerable, you definitely need to make sunscreen a part of your daily skincare routine, now more than ever. You can check out a list of some of the best sunscreens for our complexion(s) here.
____
Menopause skin prep. Chile, you ain’t gotta tell me — I’m right there with you, somewhere in perimenopause. Hopefully, this intel will make shifting into the transition easier to bear…so that “Black not cracking” can remain intact. Even during the seasons of (perimenopause) and menopause.
Let’s make things inbox official! Sign up for the xoNecole newsletter for daily love, wellness, career, and exclusive content delivered straight to your inbox.
Featured image by FG Trade/Getty Images